
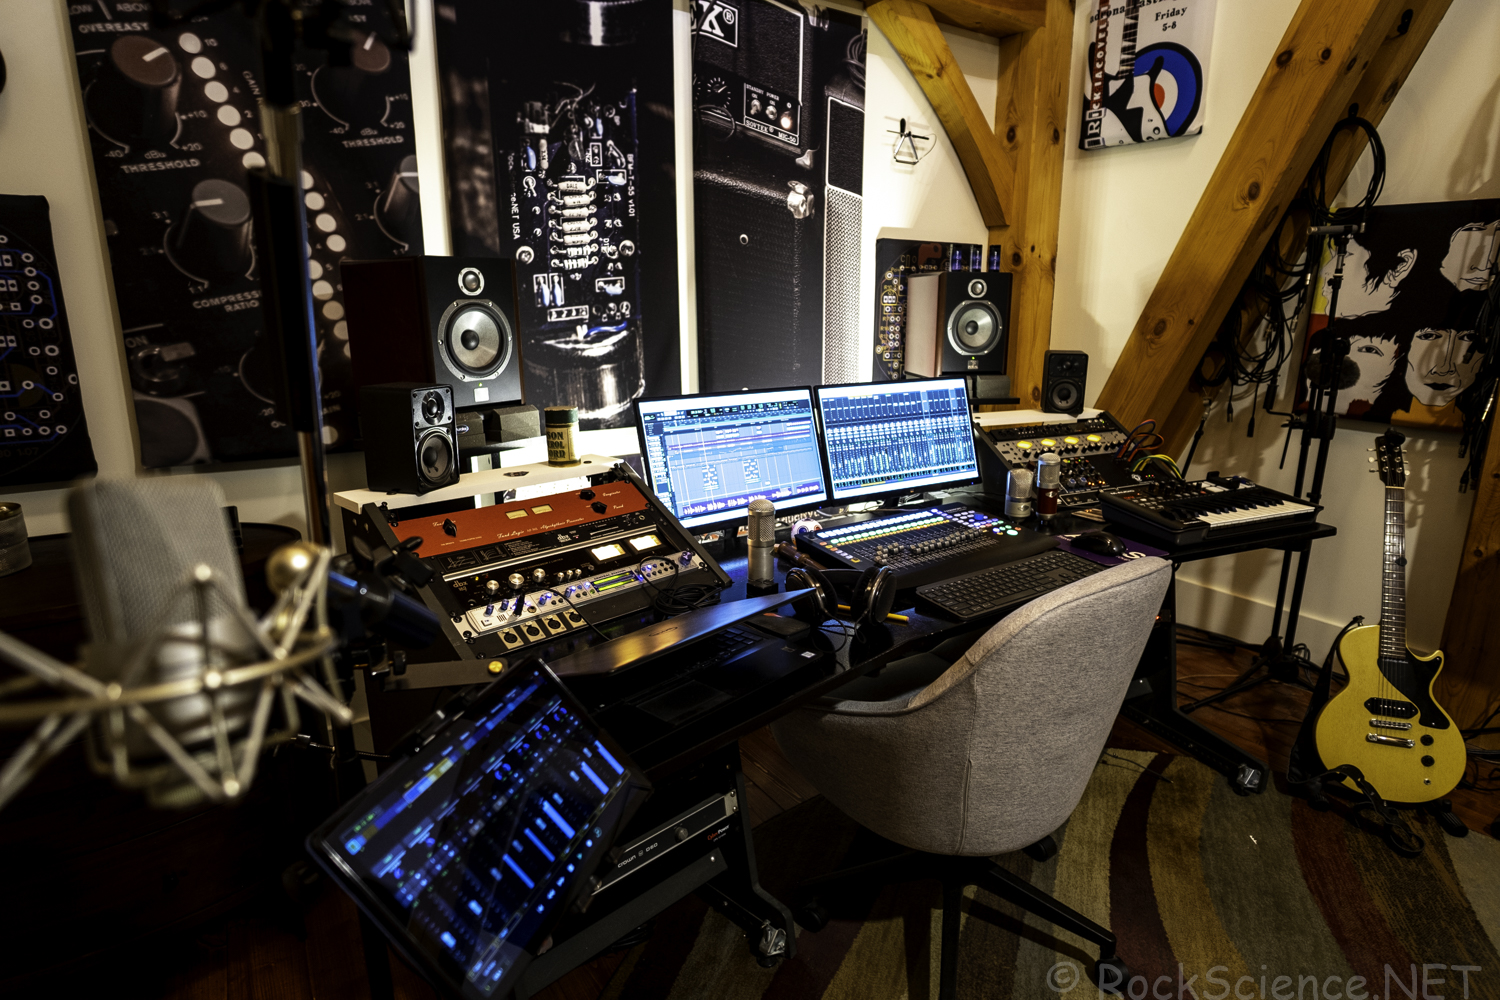
I had always wanted a studio desk like an Argosy—angled rack units right at the desktop, everything within reach. But I held off. The prebuilt options didn’t quite match the layout I wanted, and… the price tag was hard to justify. Every so often I’d sketch out a DIY recording studio desk, but life would get busy and the project would get shelved. So I made do with a generic office desk and a couple of external racks.
After seeing more and more impressive DIY studio desk builds online, I finally committed. One choice that made things easier (and cheaper) was building it out of MDF instead of plywood. I hadn’t considered MDF at first, but seeing the great results others achieved convinced me. In the end, I had a custom desk that I love—complete with 16U of rack space above the desktop and another 16U below.
If you’re interested in how this ties into my gear setup, especially my mic mods, check that out too—this desk was the starting point for making my studio truly functional.
So here we go…
Let’s start with the design
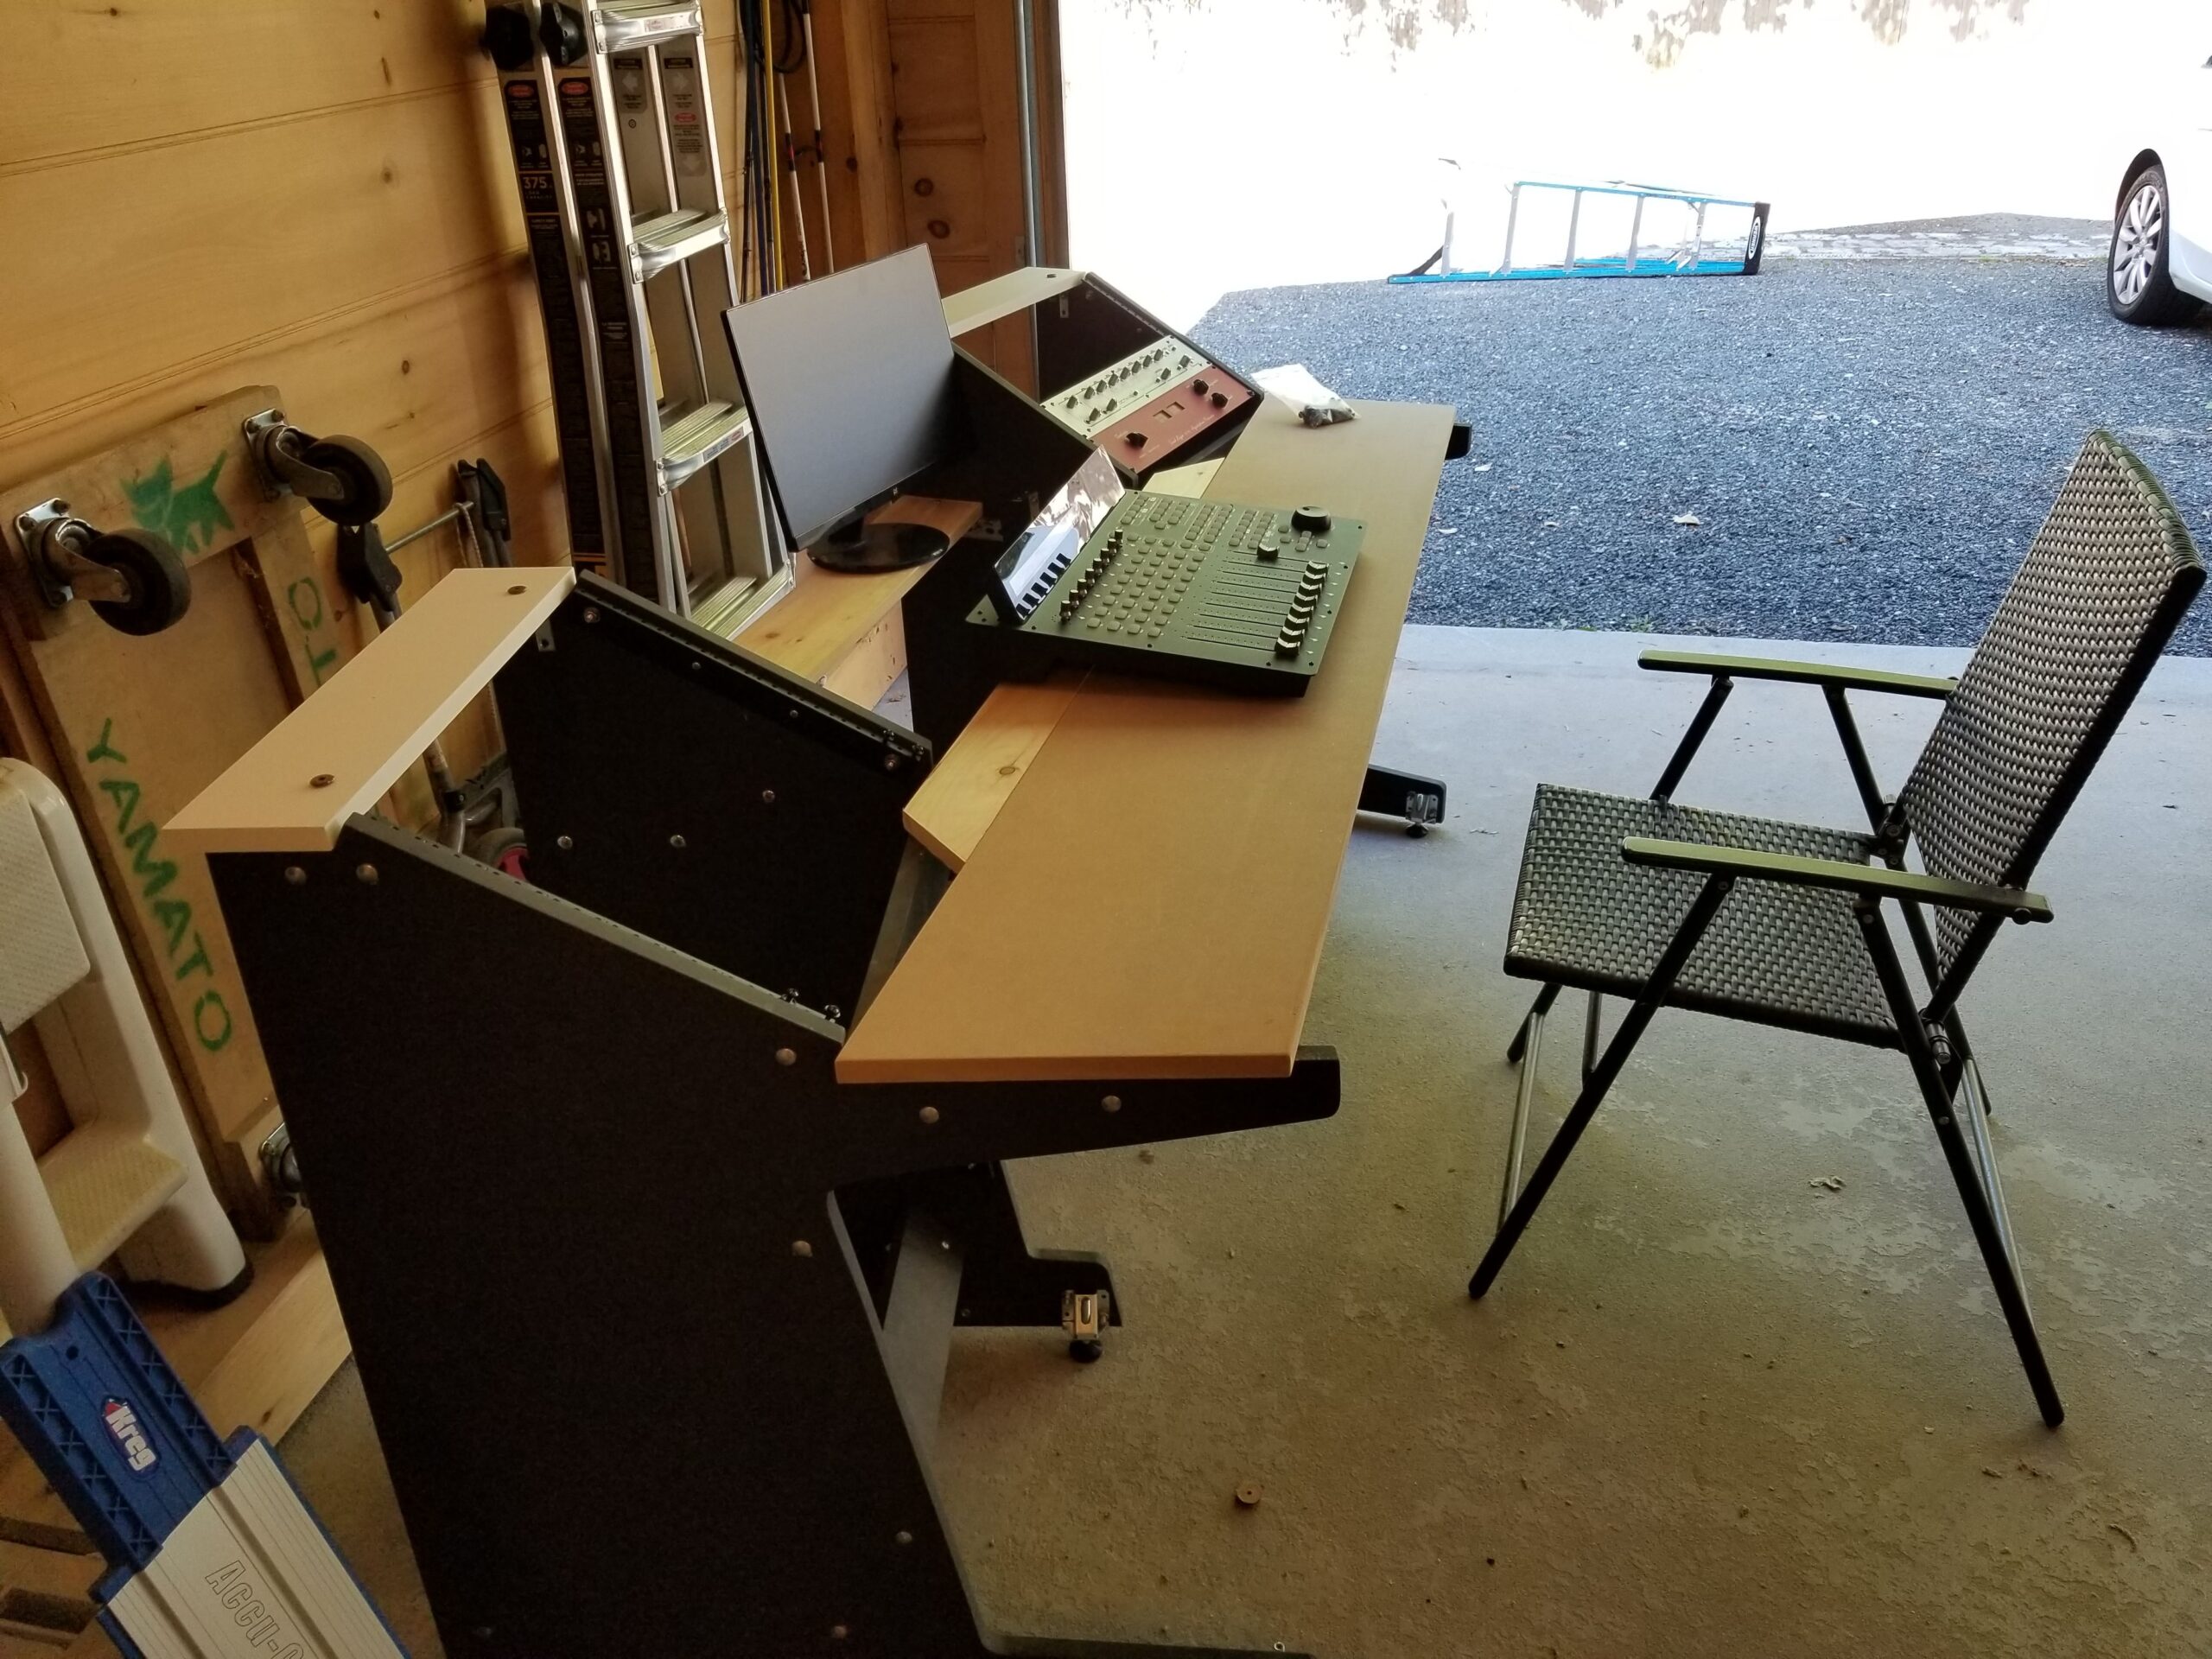
The basic concept was simple: two side wings and a tabletop in between. But one detail I’m especially proud of is how the computer monitors sit on a separate bridge, about 2 inches (52mm) lower than the main desk surface. This gives me a more ergonomic viewing angle and keeps the monitors slightly out of the sound field—something that really matters when you’re trying to maintain a clean monitoring environment in a recording space.
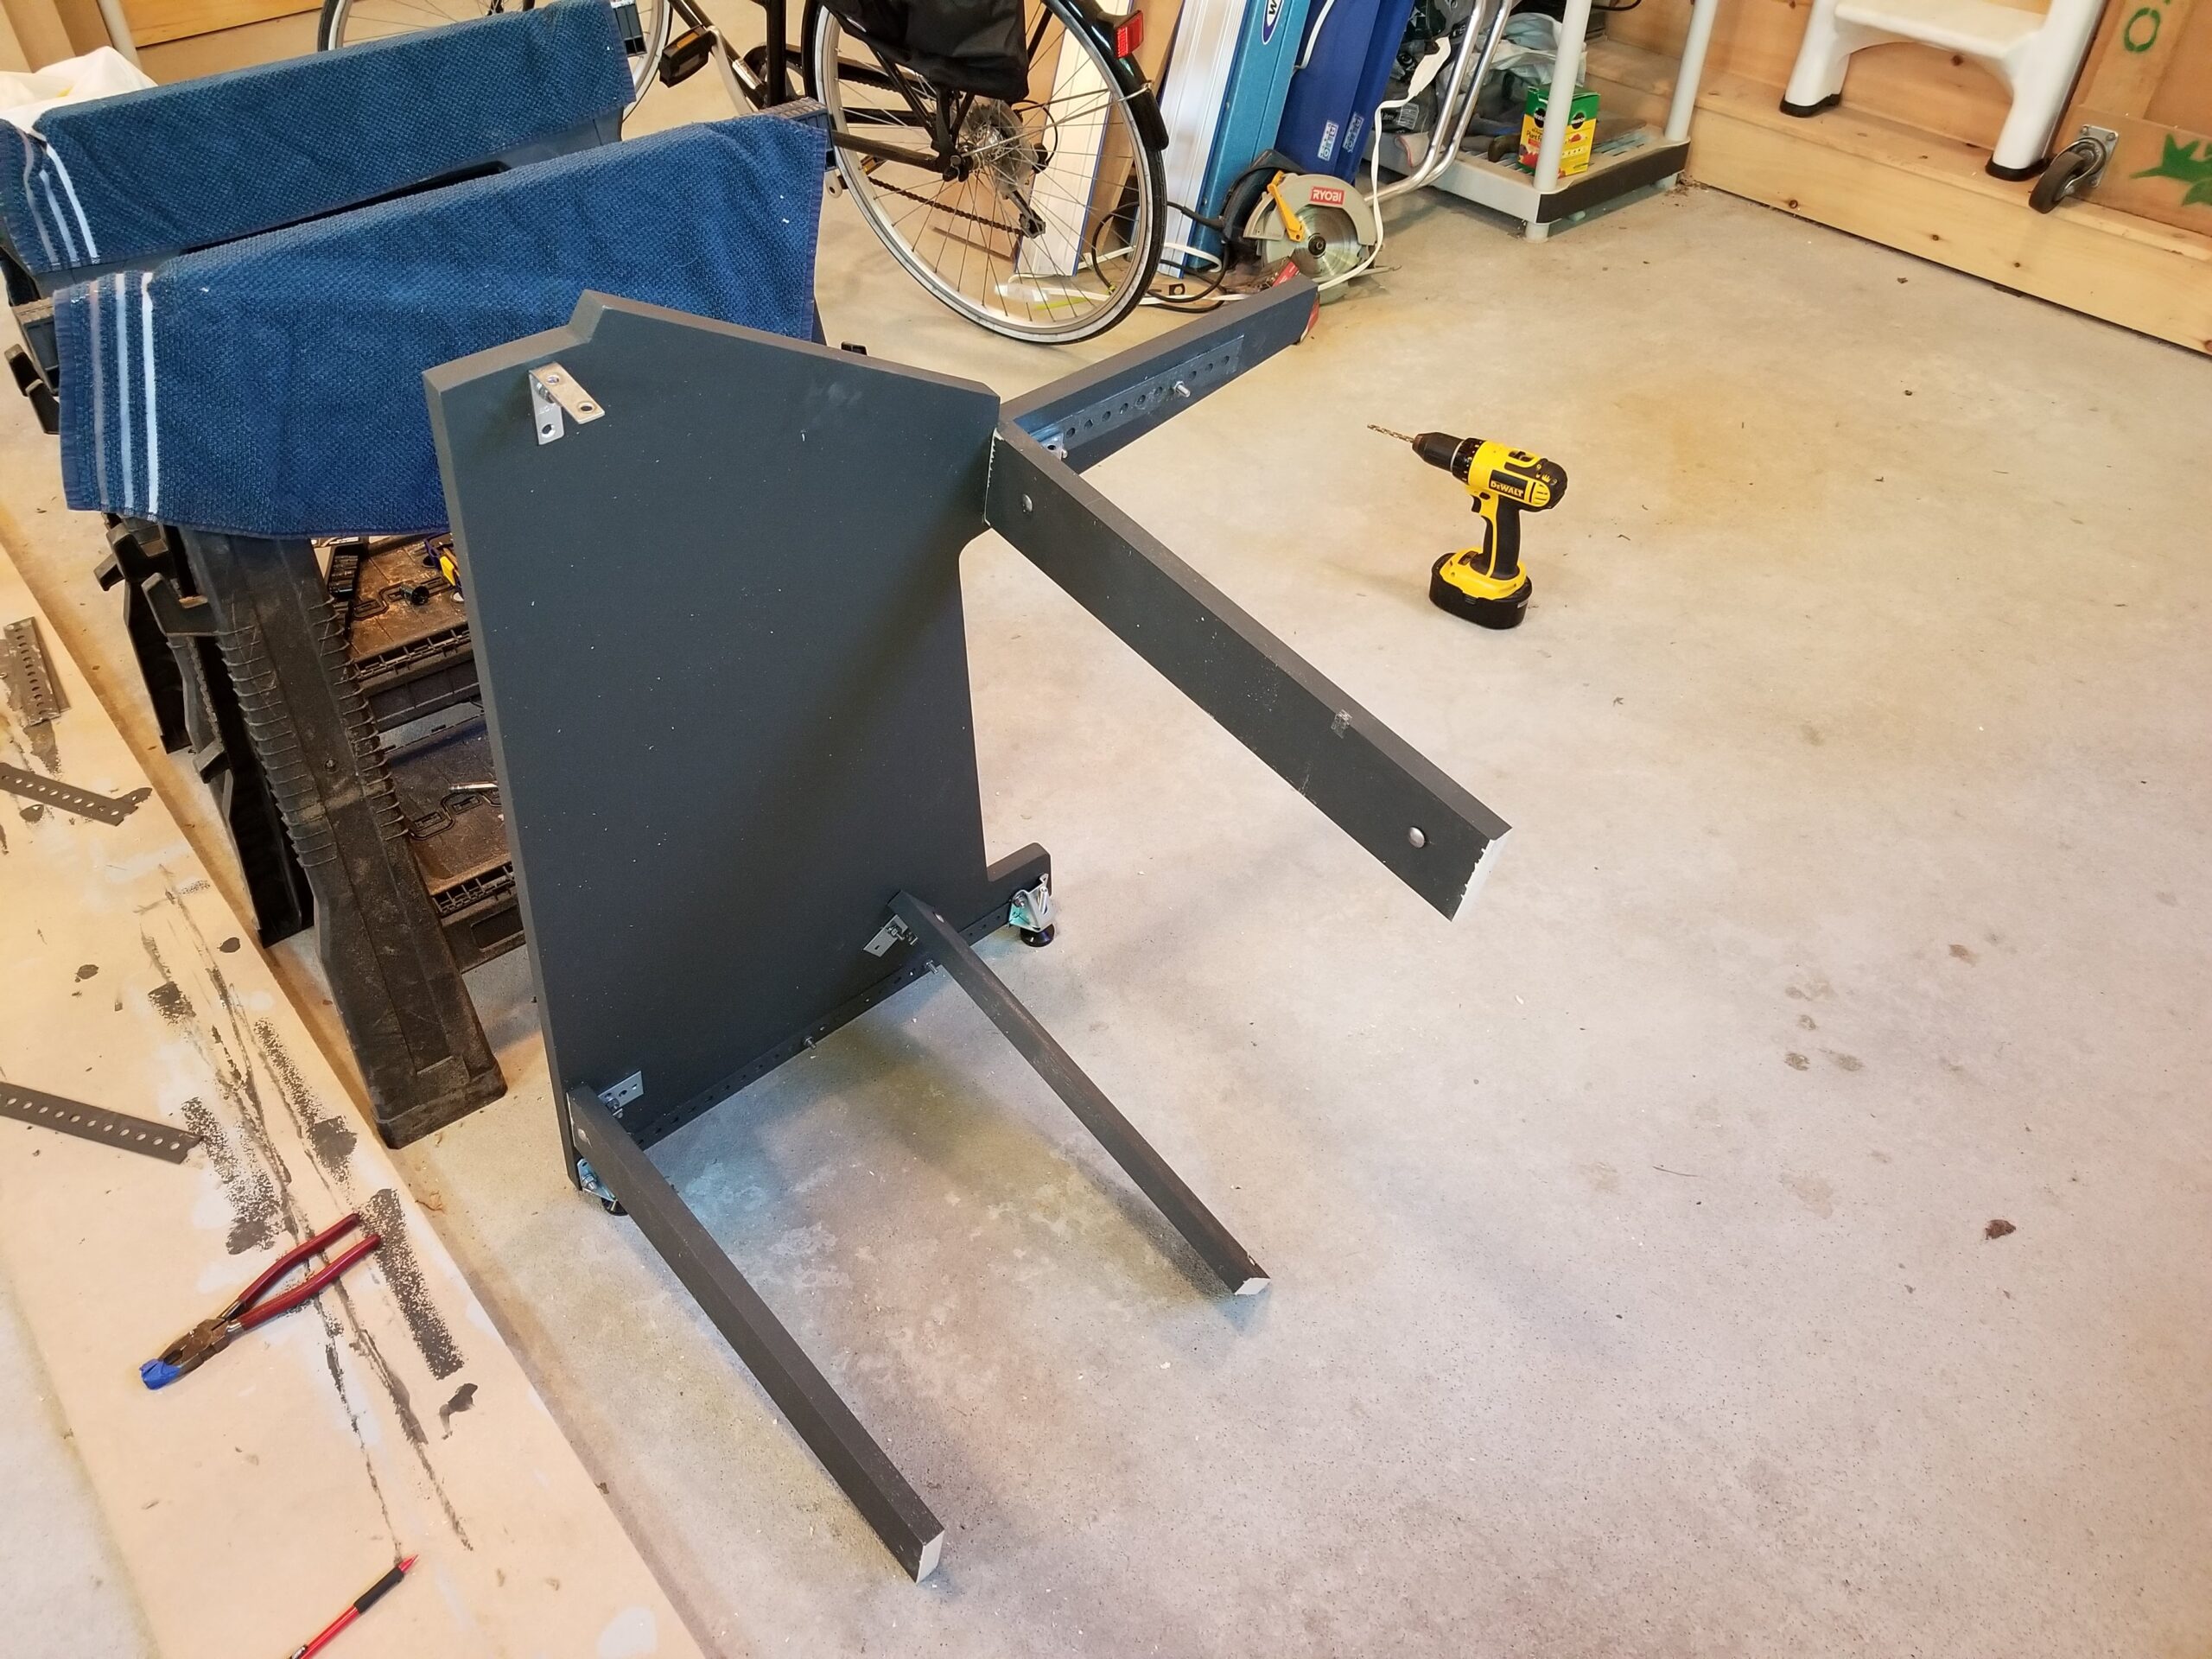
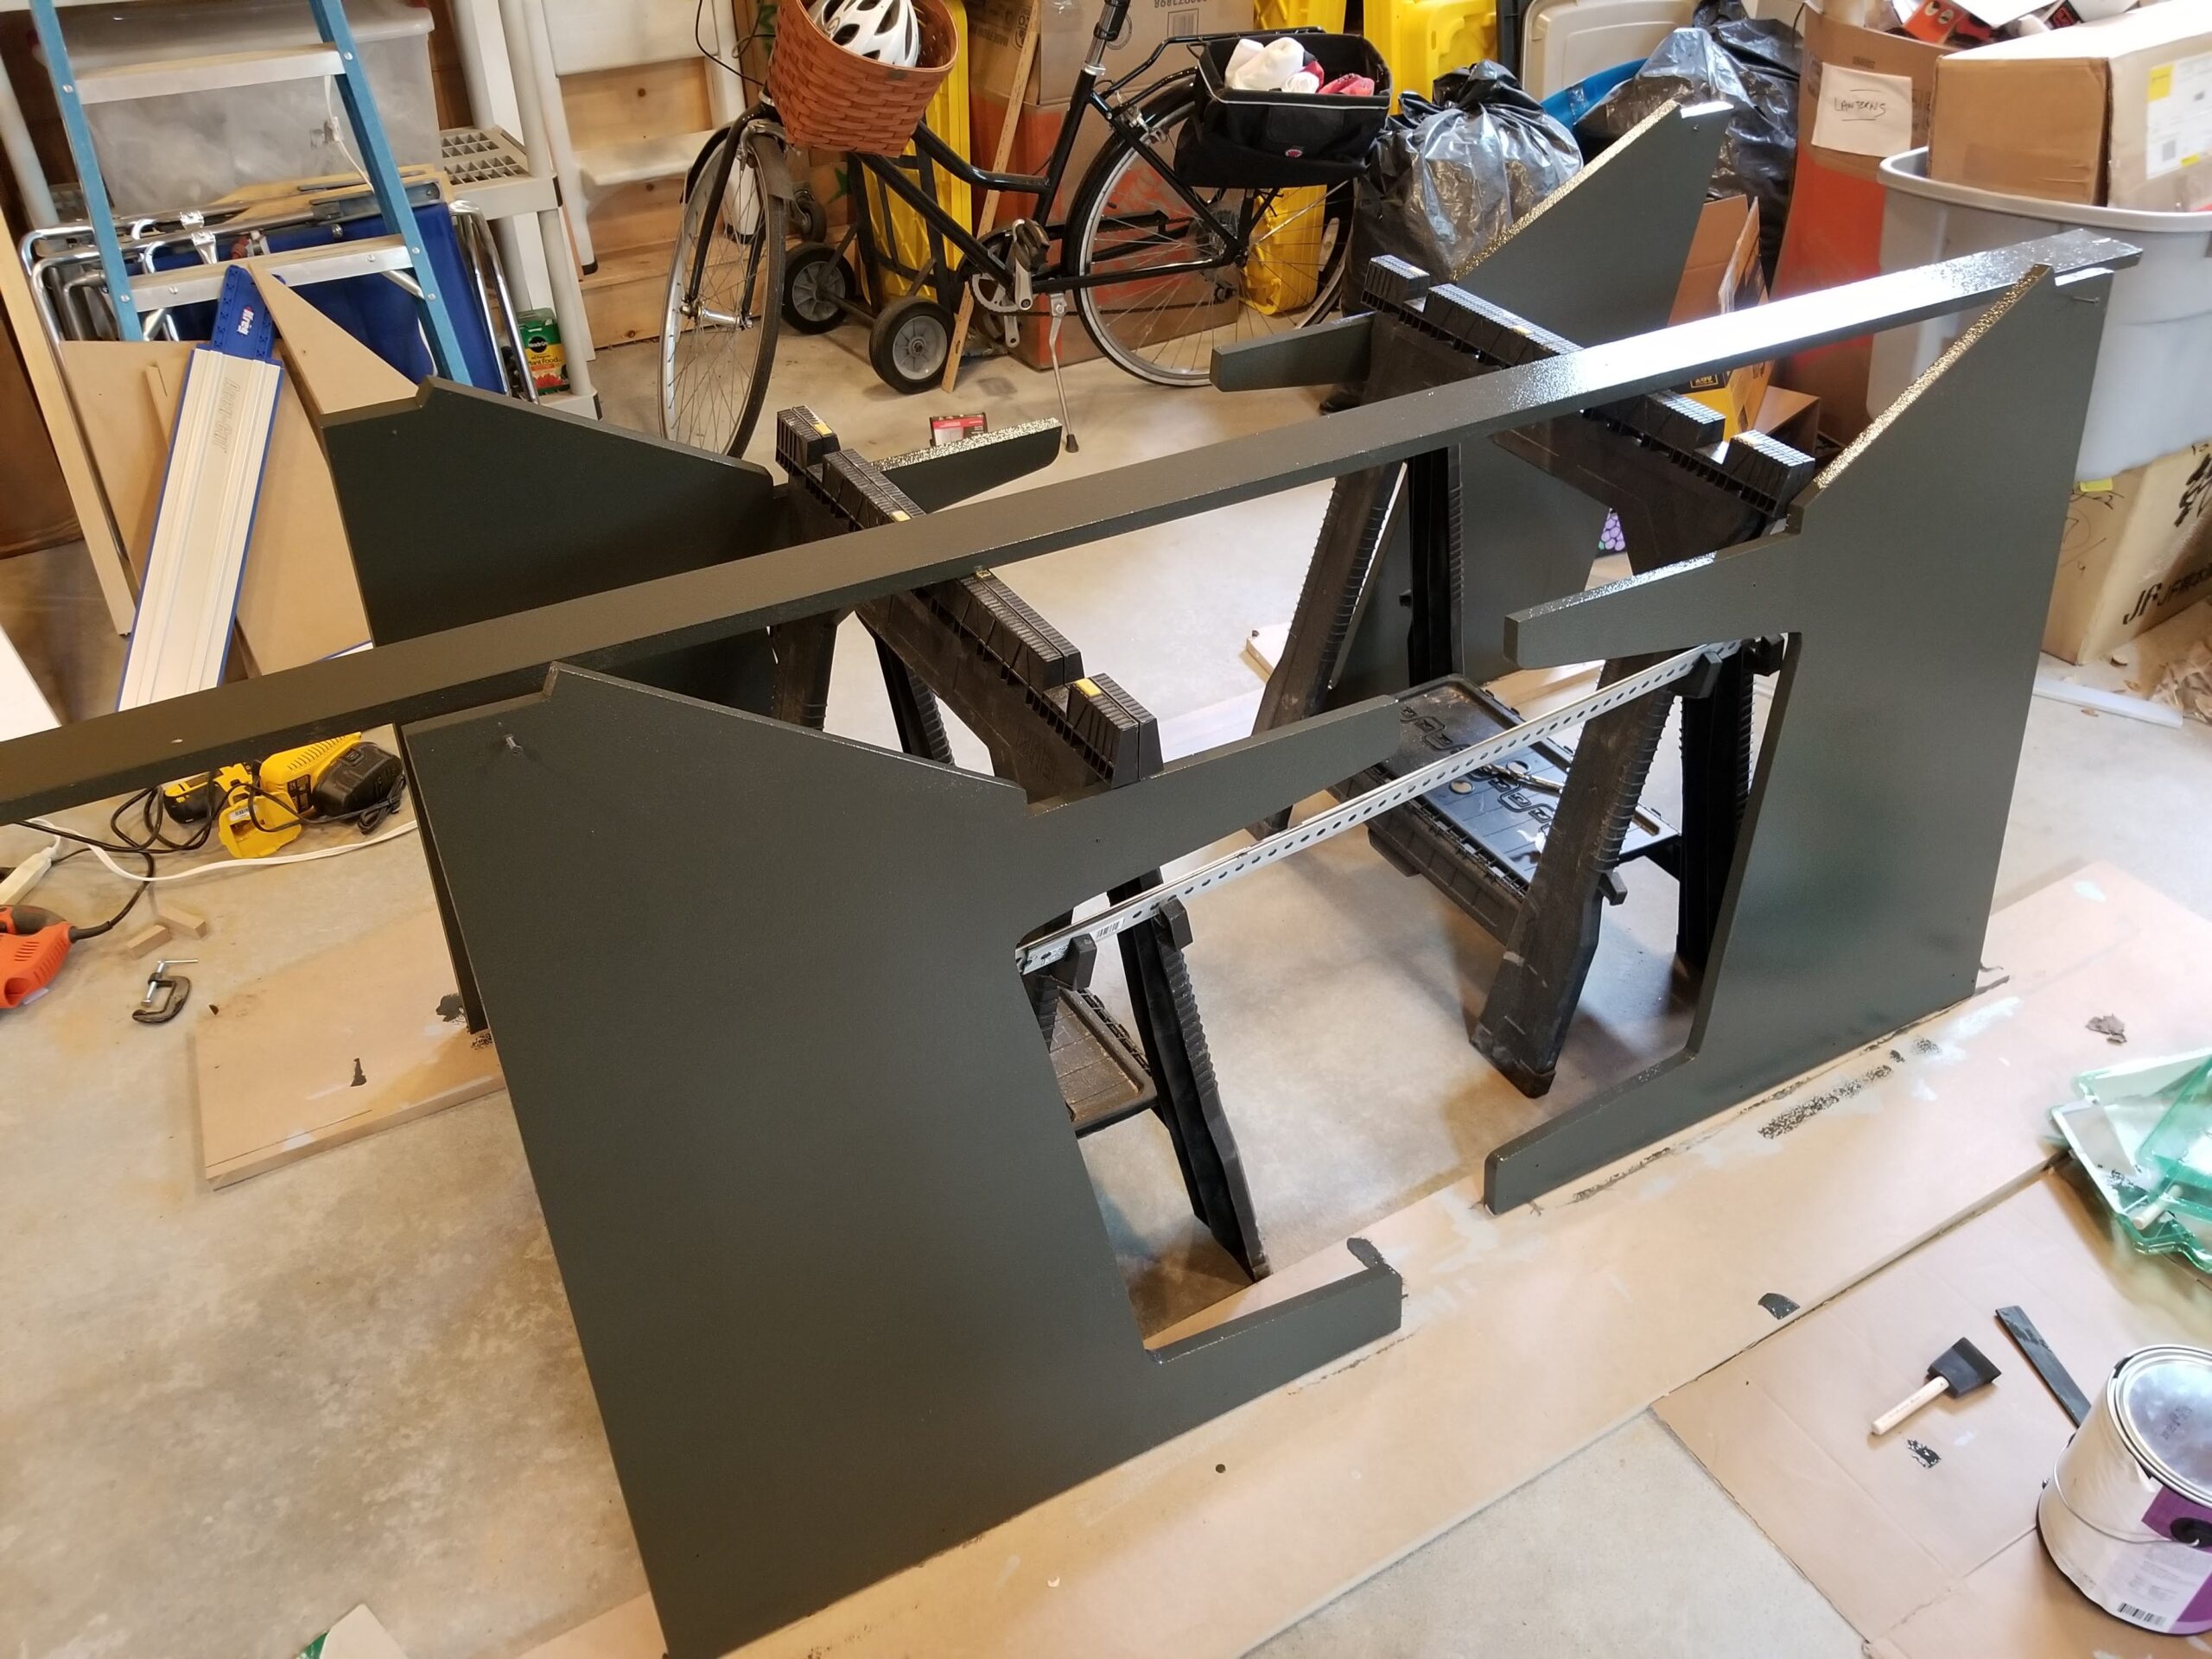
The monitor bridge actually sets the orientation of the side wings. It rests on angle iron mounted to the inside of each wing and is held in place with pins that go through the bridge and into the metal brackets. Simple, sturdy, and effective.
To make sure everything would fit perfectly, I drew the entire desk in LibreCAD, a free open-source CAD tool. This gave me the flexibility to adjust dimensions and get accurate cut measurements before touching a saw.
You can download the DXF file here—it’s free to use if you want to base your own DIY studio desk design on mine.

Construction
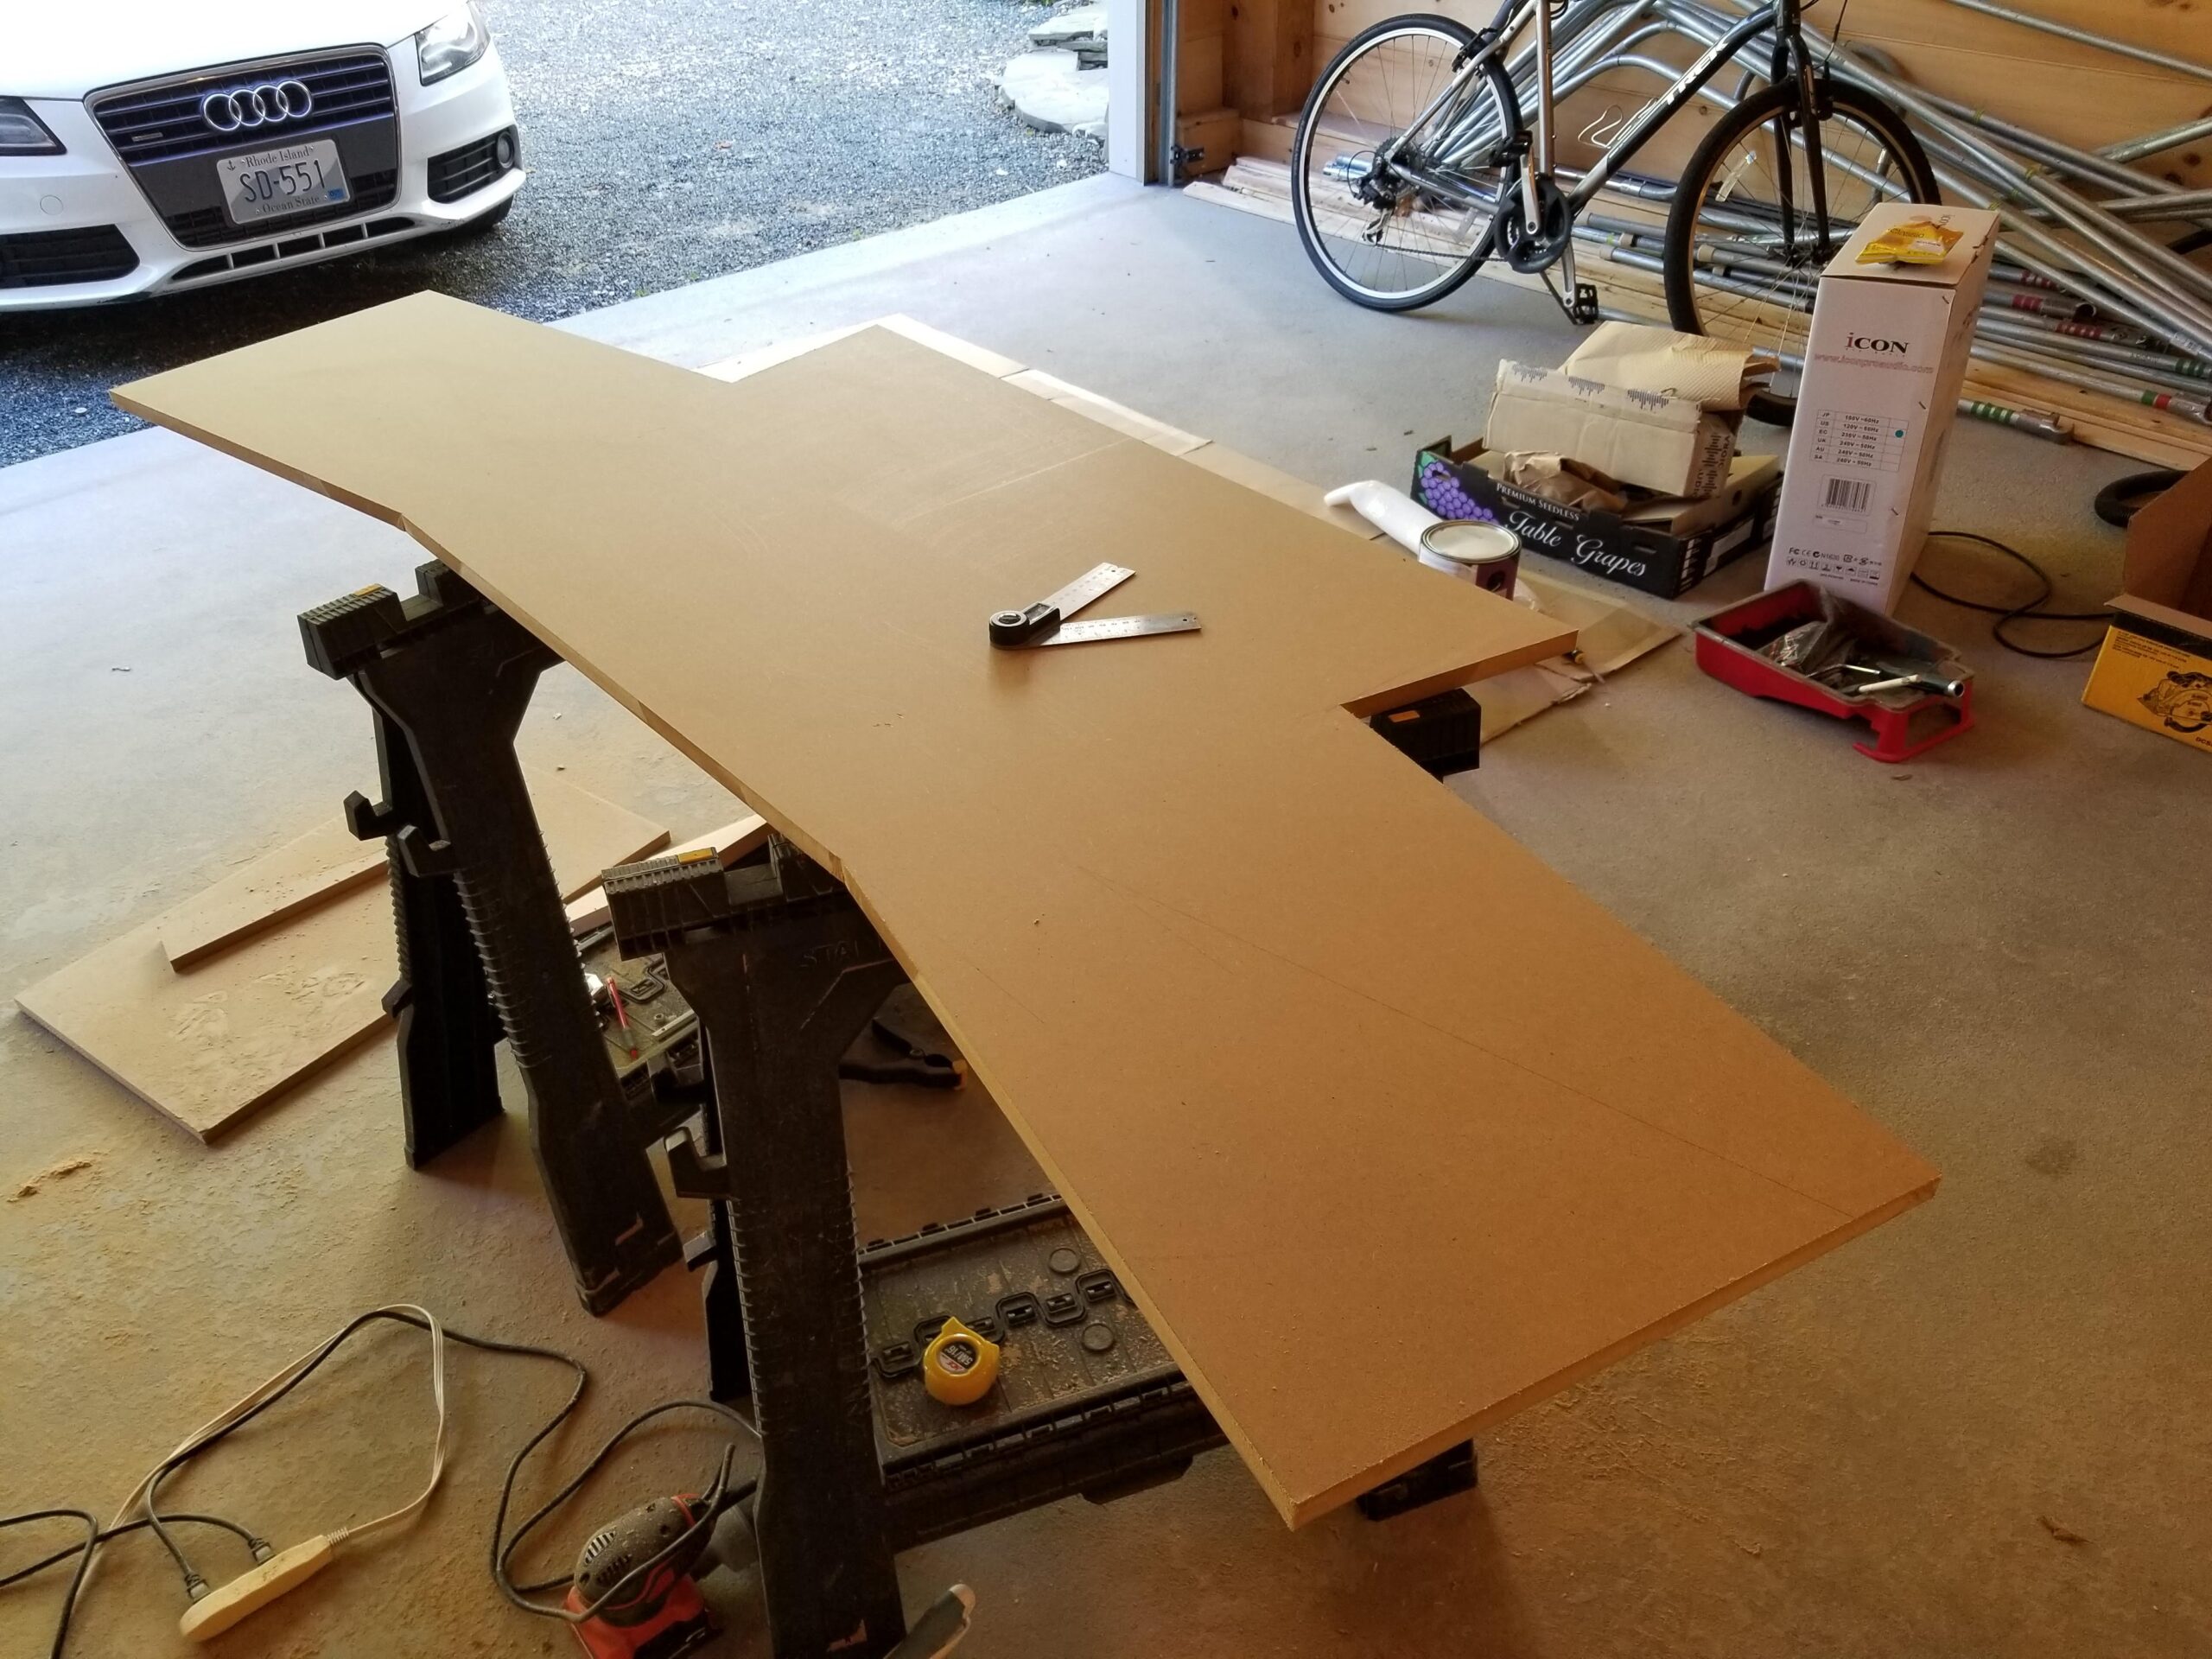
One thing that almost held me back from building this was the fact that I don’t own a table saw. That always made a DIY studio desk feel like it might be out of my league. But honestly, for this build, all you really need is a circular saw with a sharp blade, a straight edge, and some sturdy clamps. It’s totally doable with basic tools.
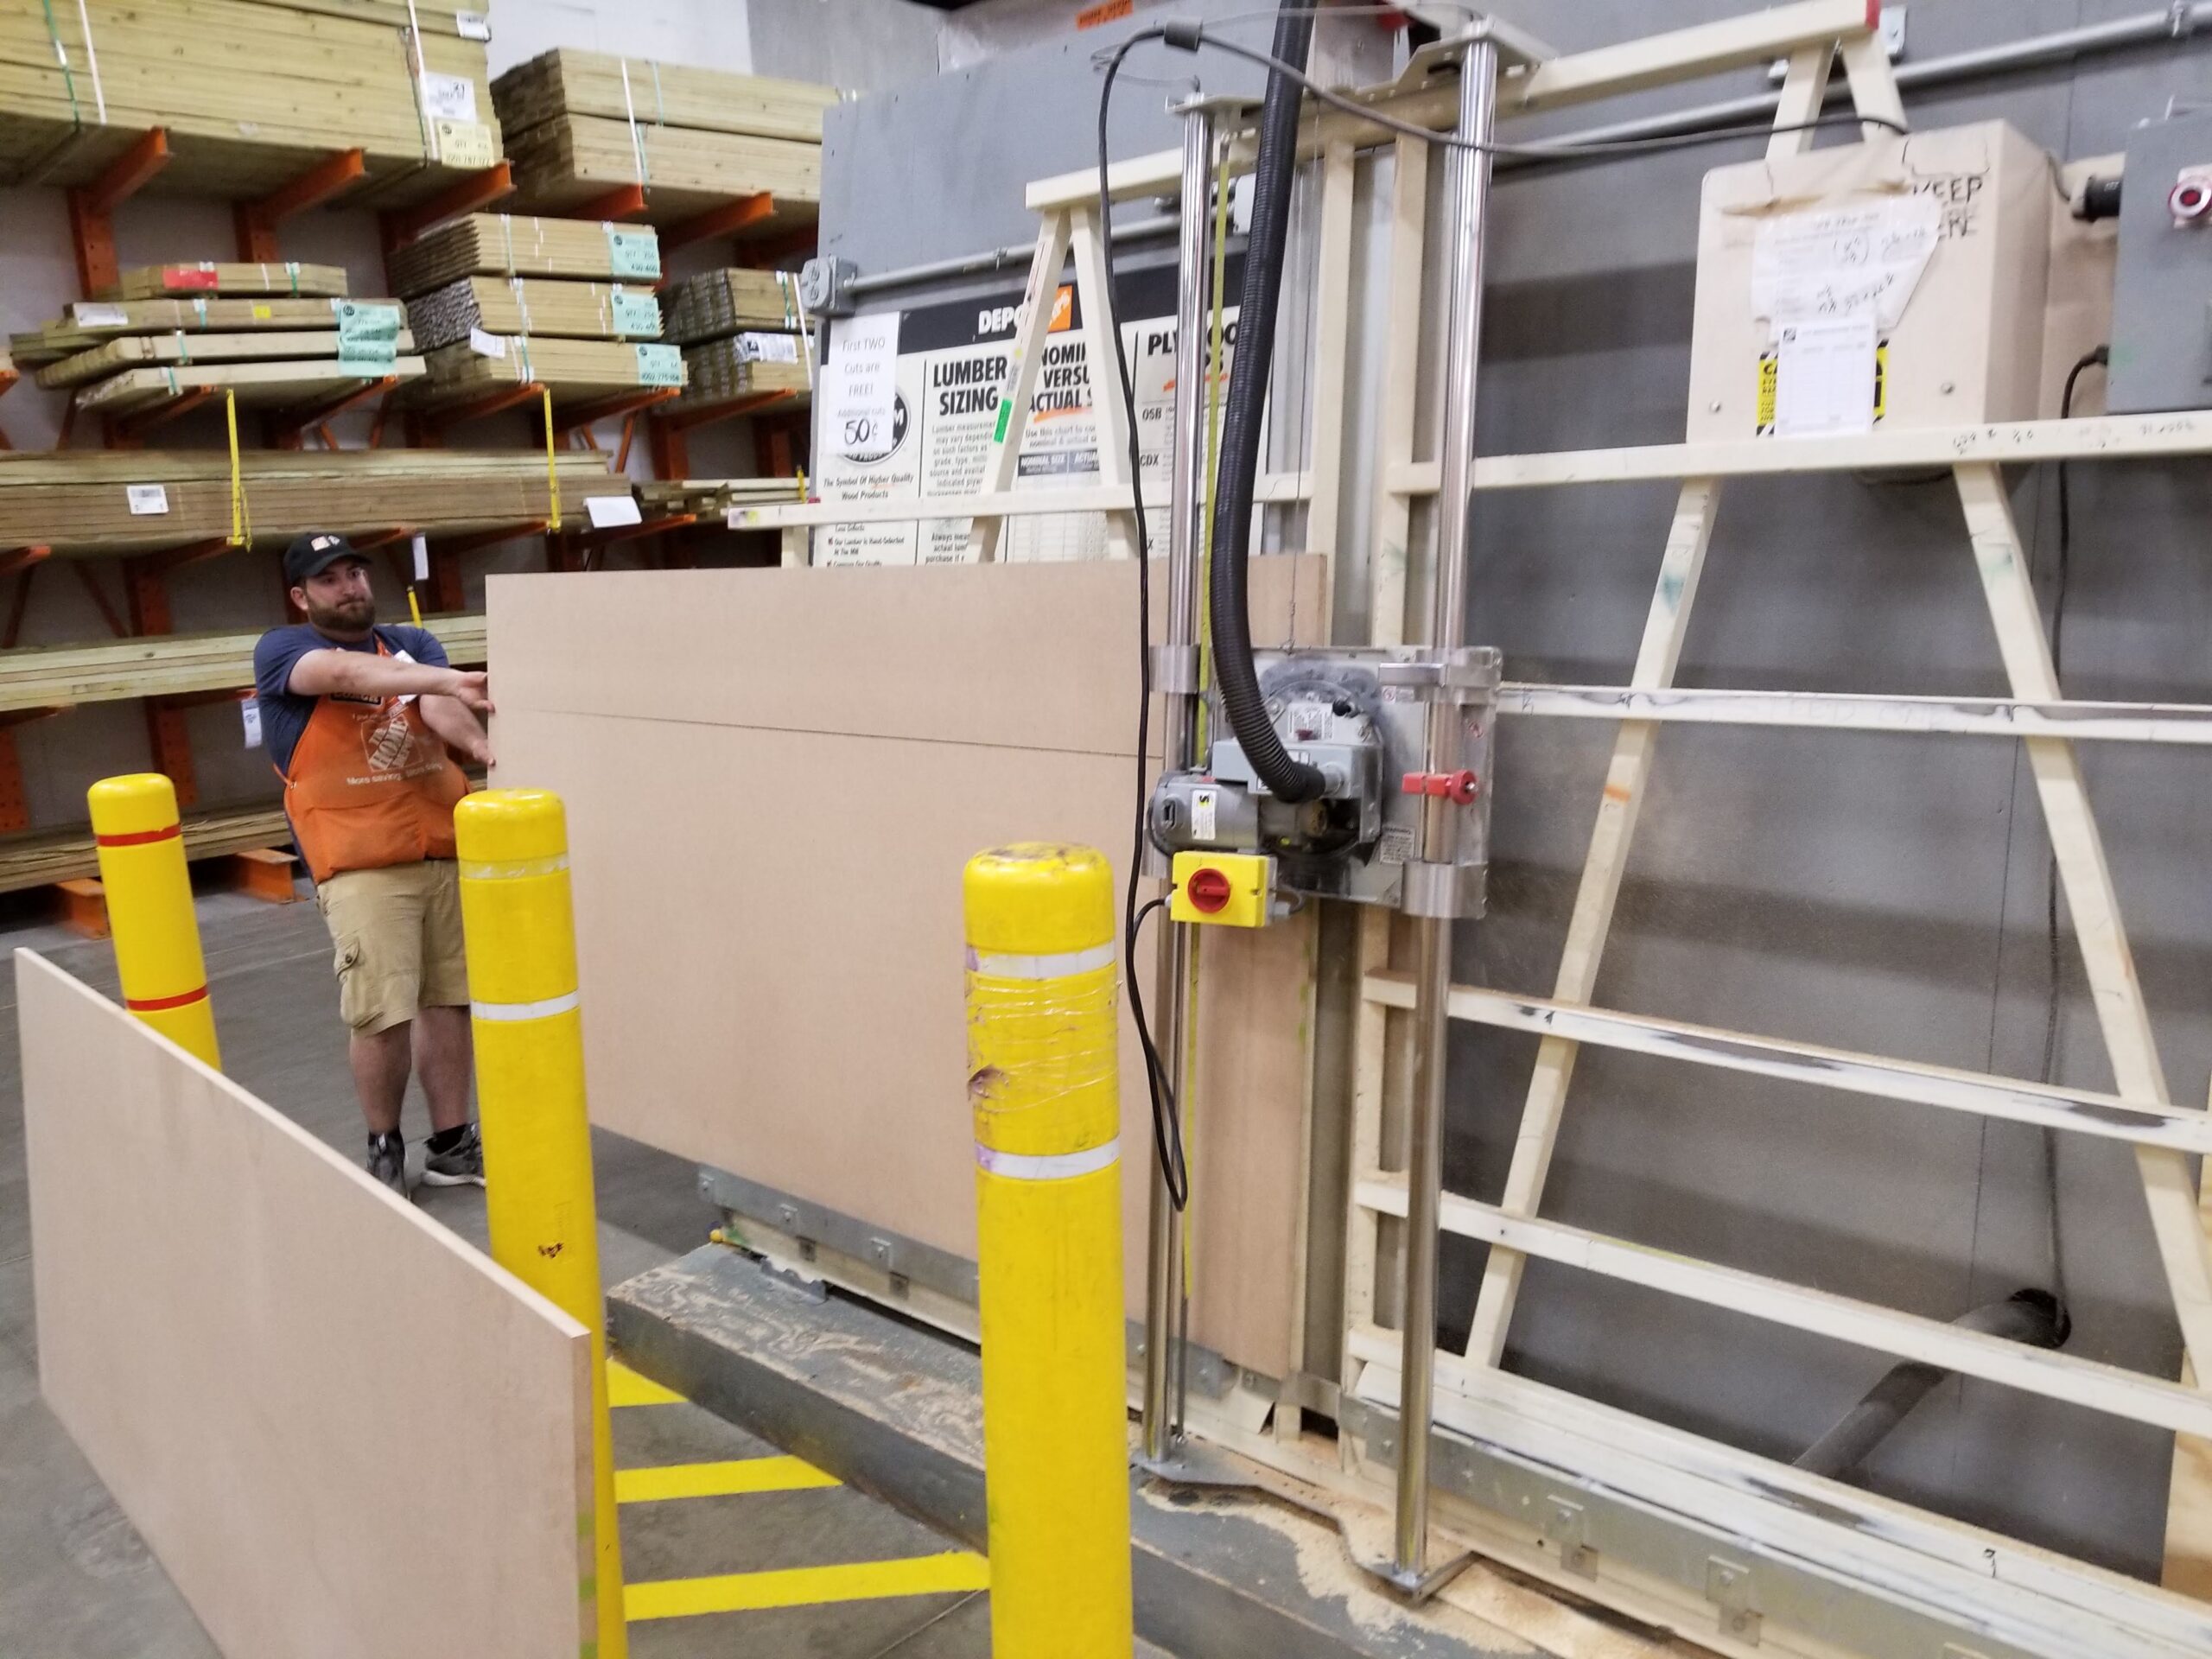
I worked directly from my CAD drawing and cut the various MDF pieces to size. To make things more manageable (and to fit everything in my car—I don’t have a truck either), I had the sheets rough-cut at Home Depot. That made transport and final trimming at home much easier.


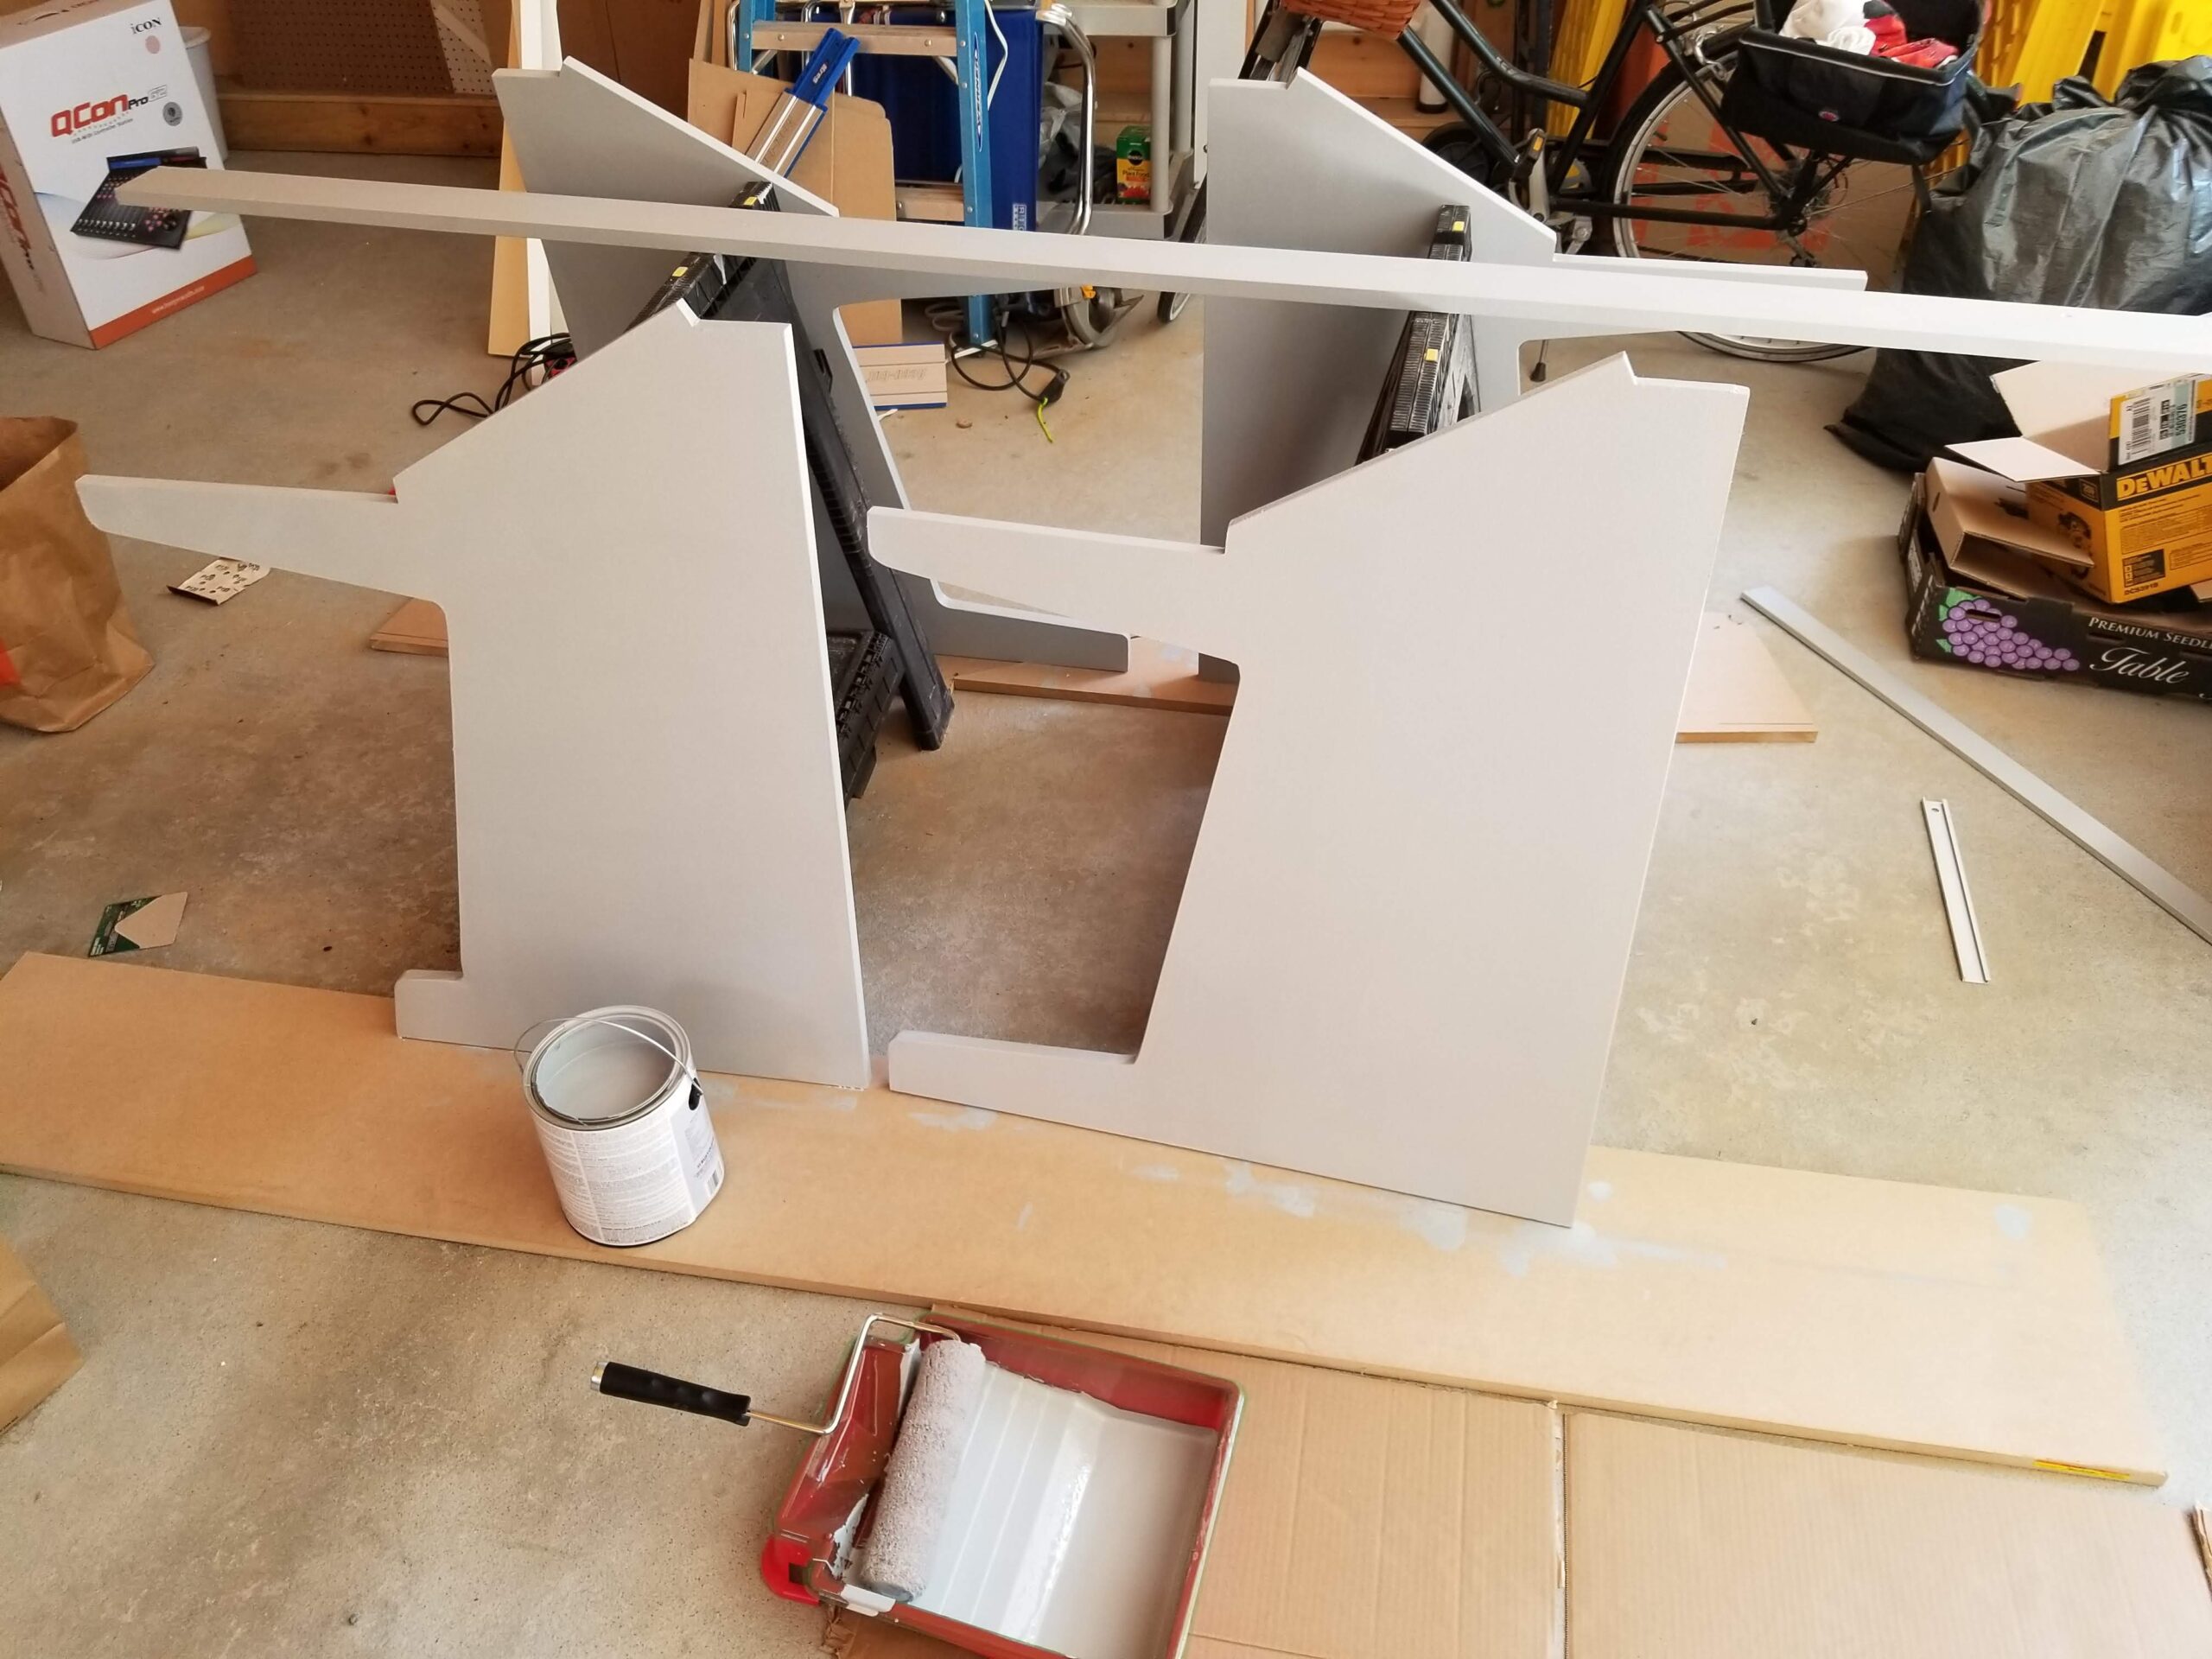
The cutting and sanding of the side wing pieces went surprisingly fast. Once those were done, I moved on to the cross pieces, internal supports, brackets, leveling pads, and other hardware. That’s when progress started to slow down.
In hindsight, I really wish I had spent more time in the planning phase—specifically designing the bracket placement and leveling pad locations in CAD. It would’ve saved me a lot of trial and error (and a few ruined pieces of MDF). Lesson learned: the more detailed your design is up front, the smoother the build goes later.


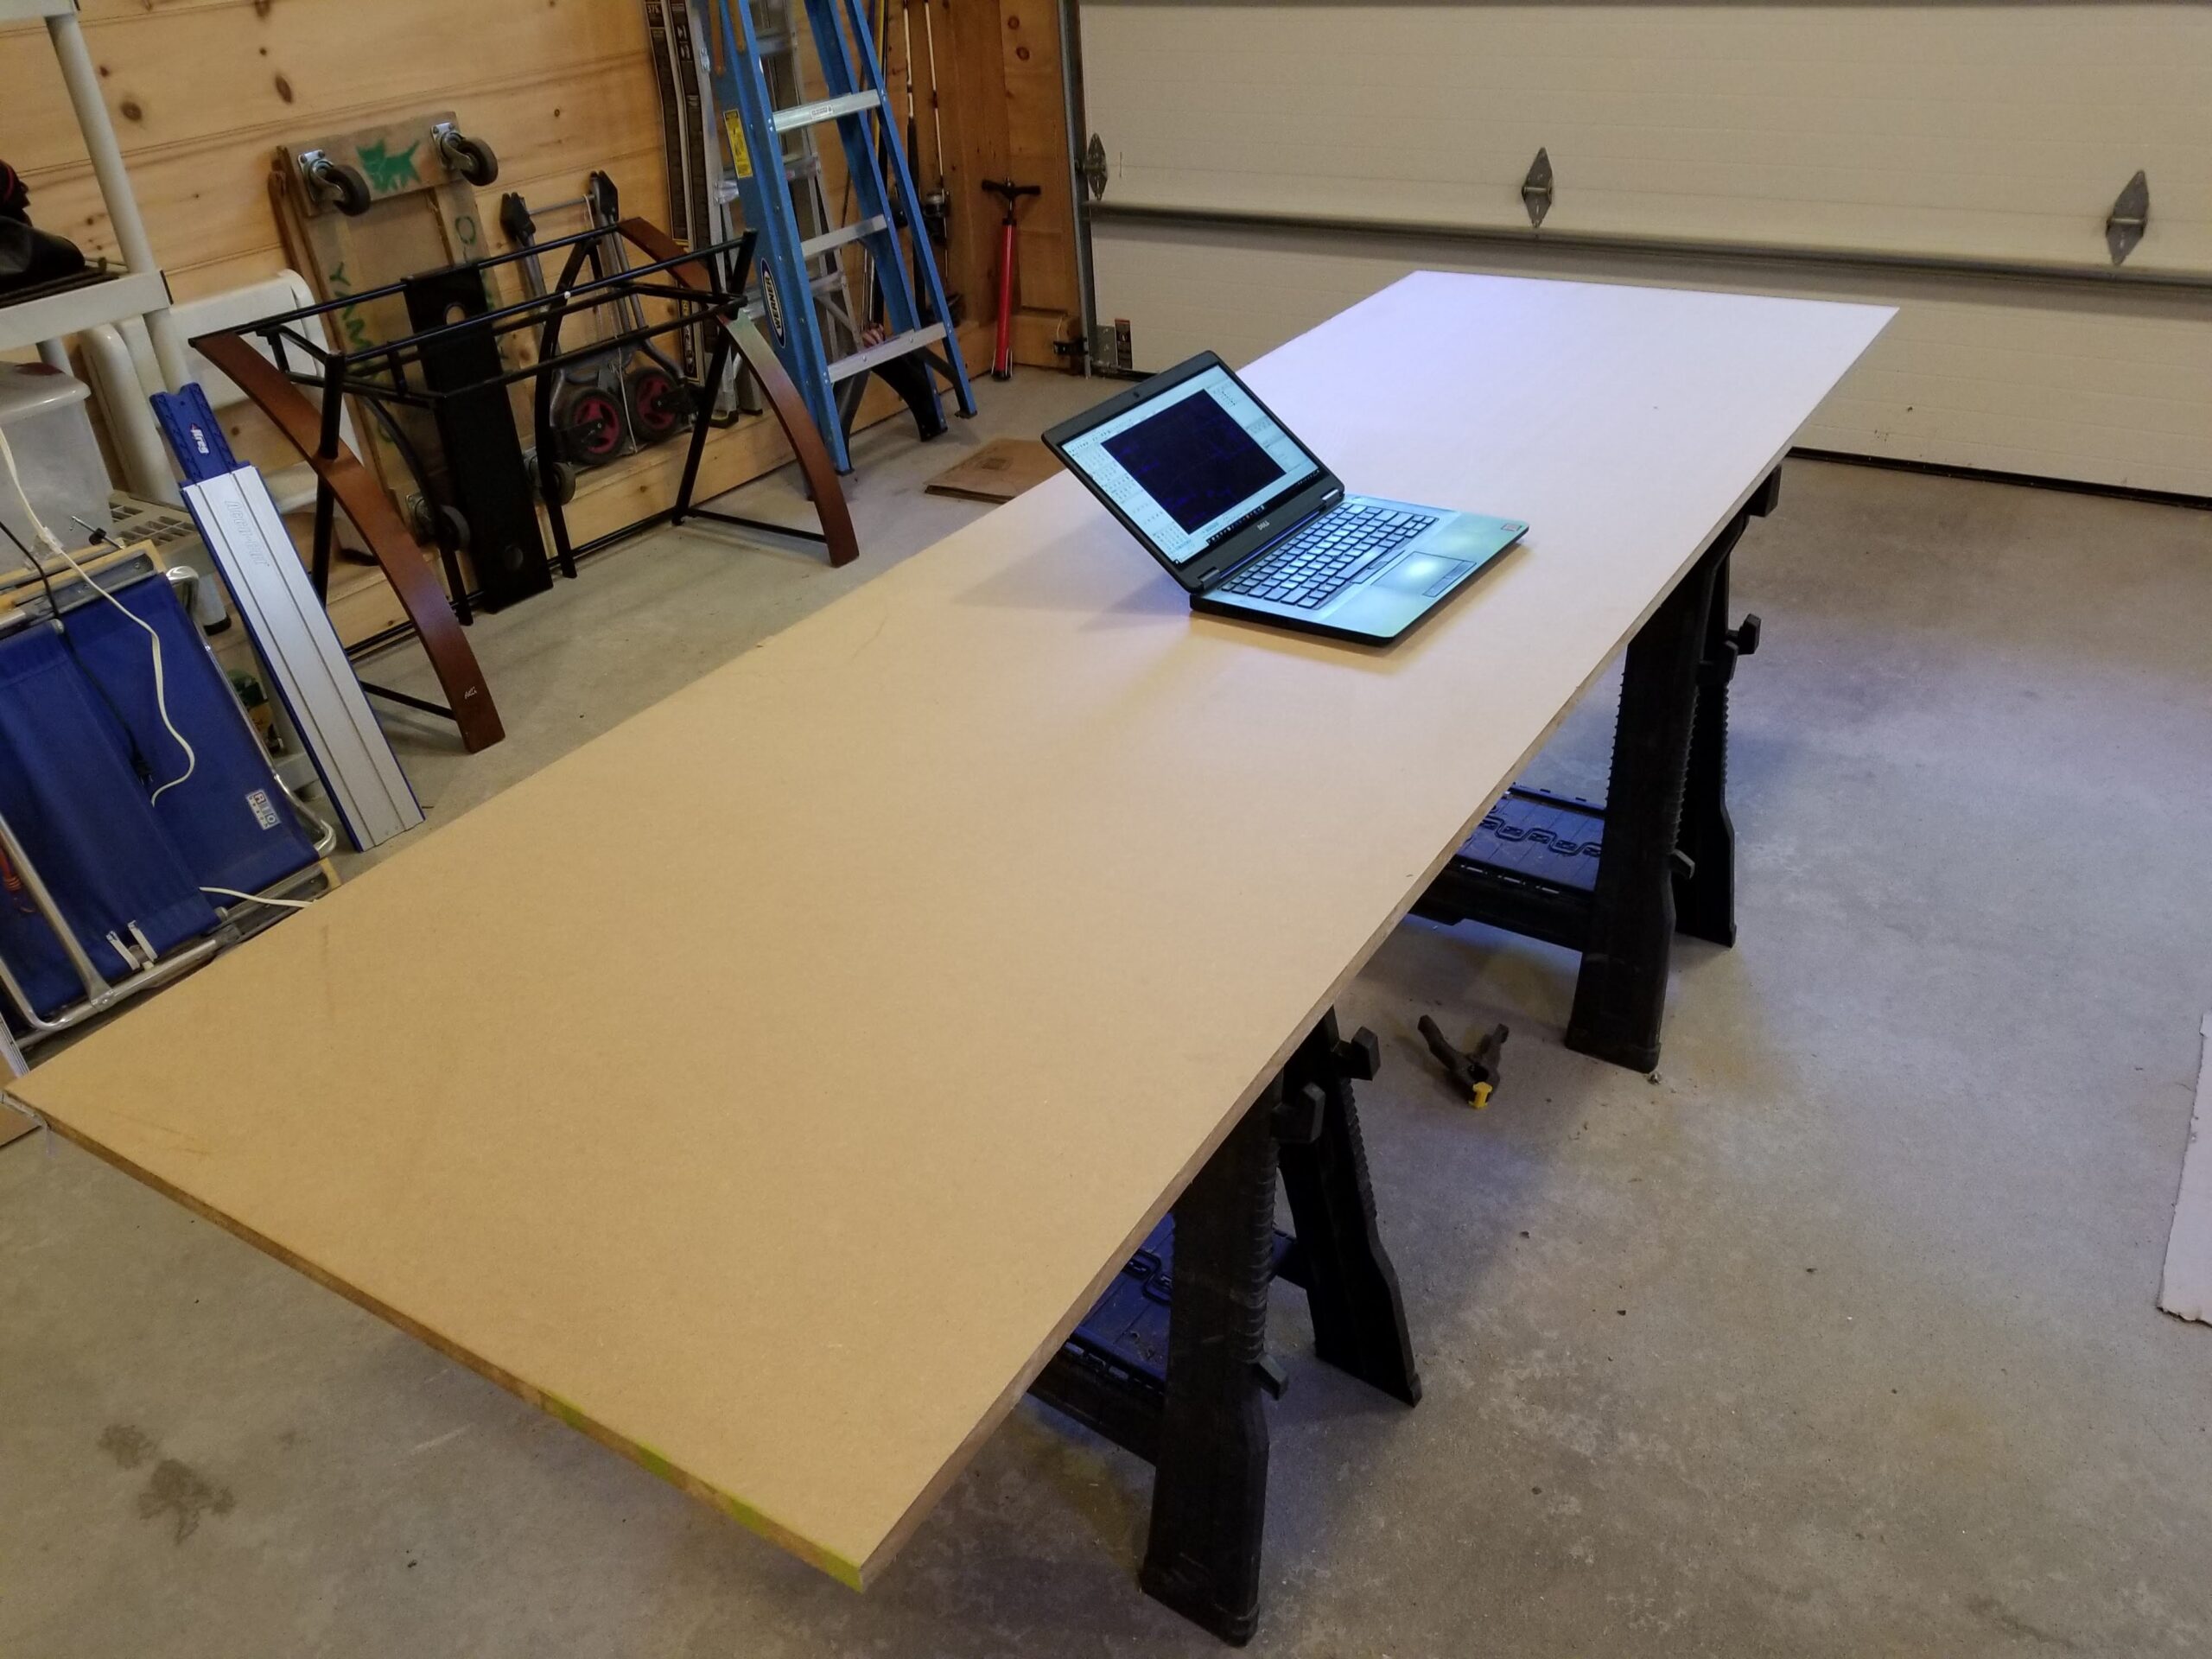
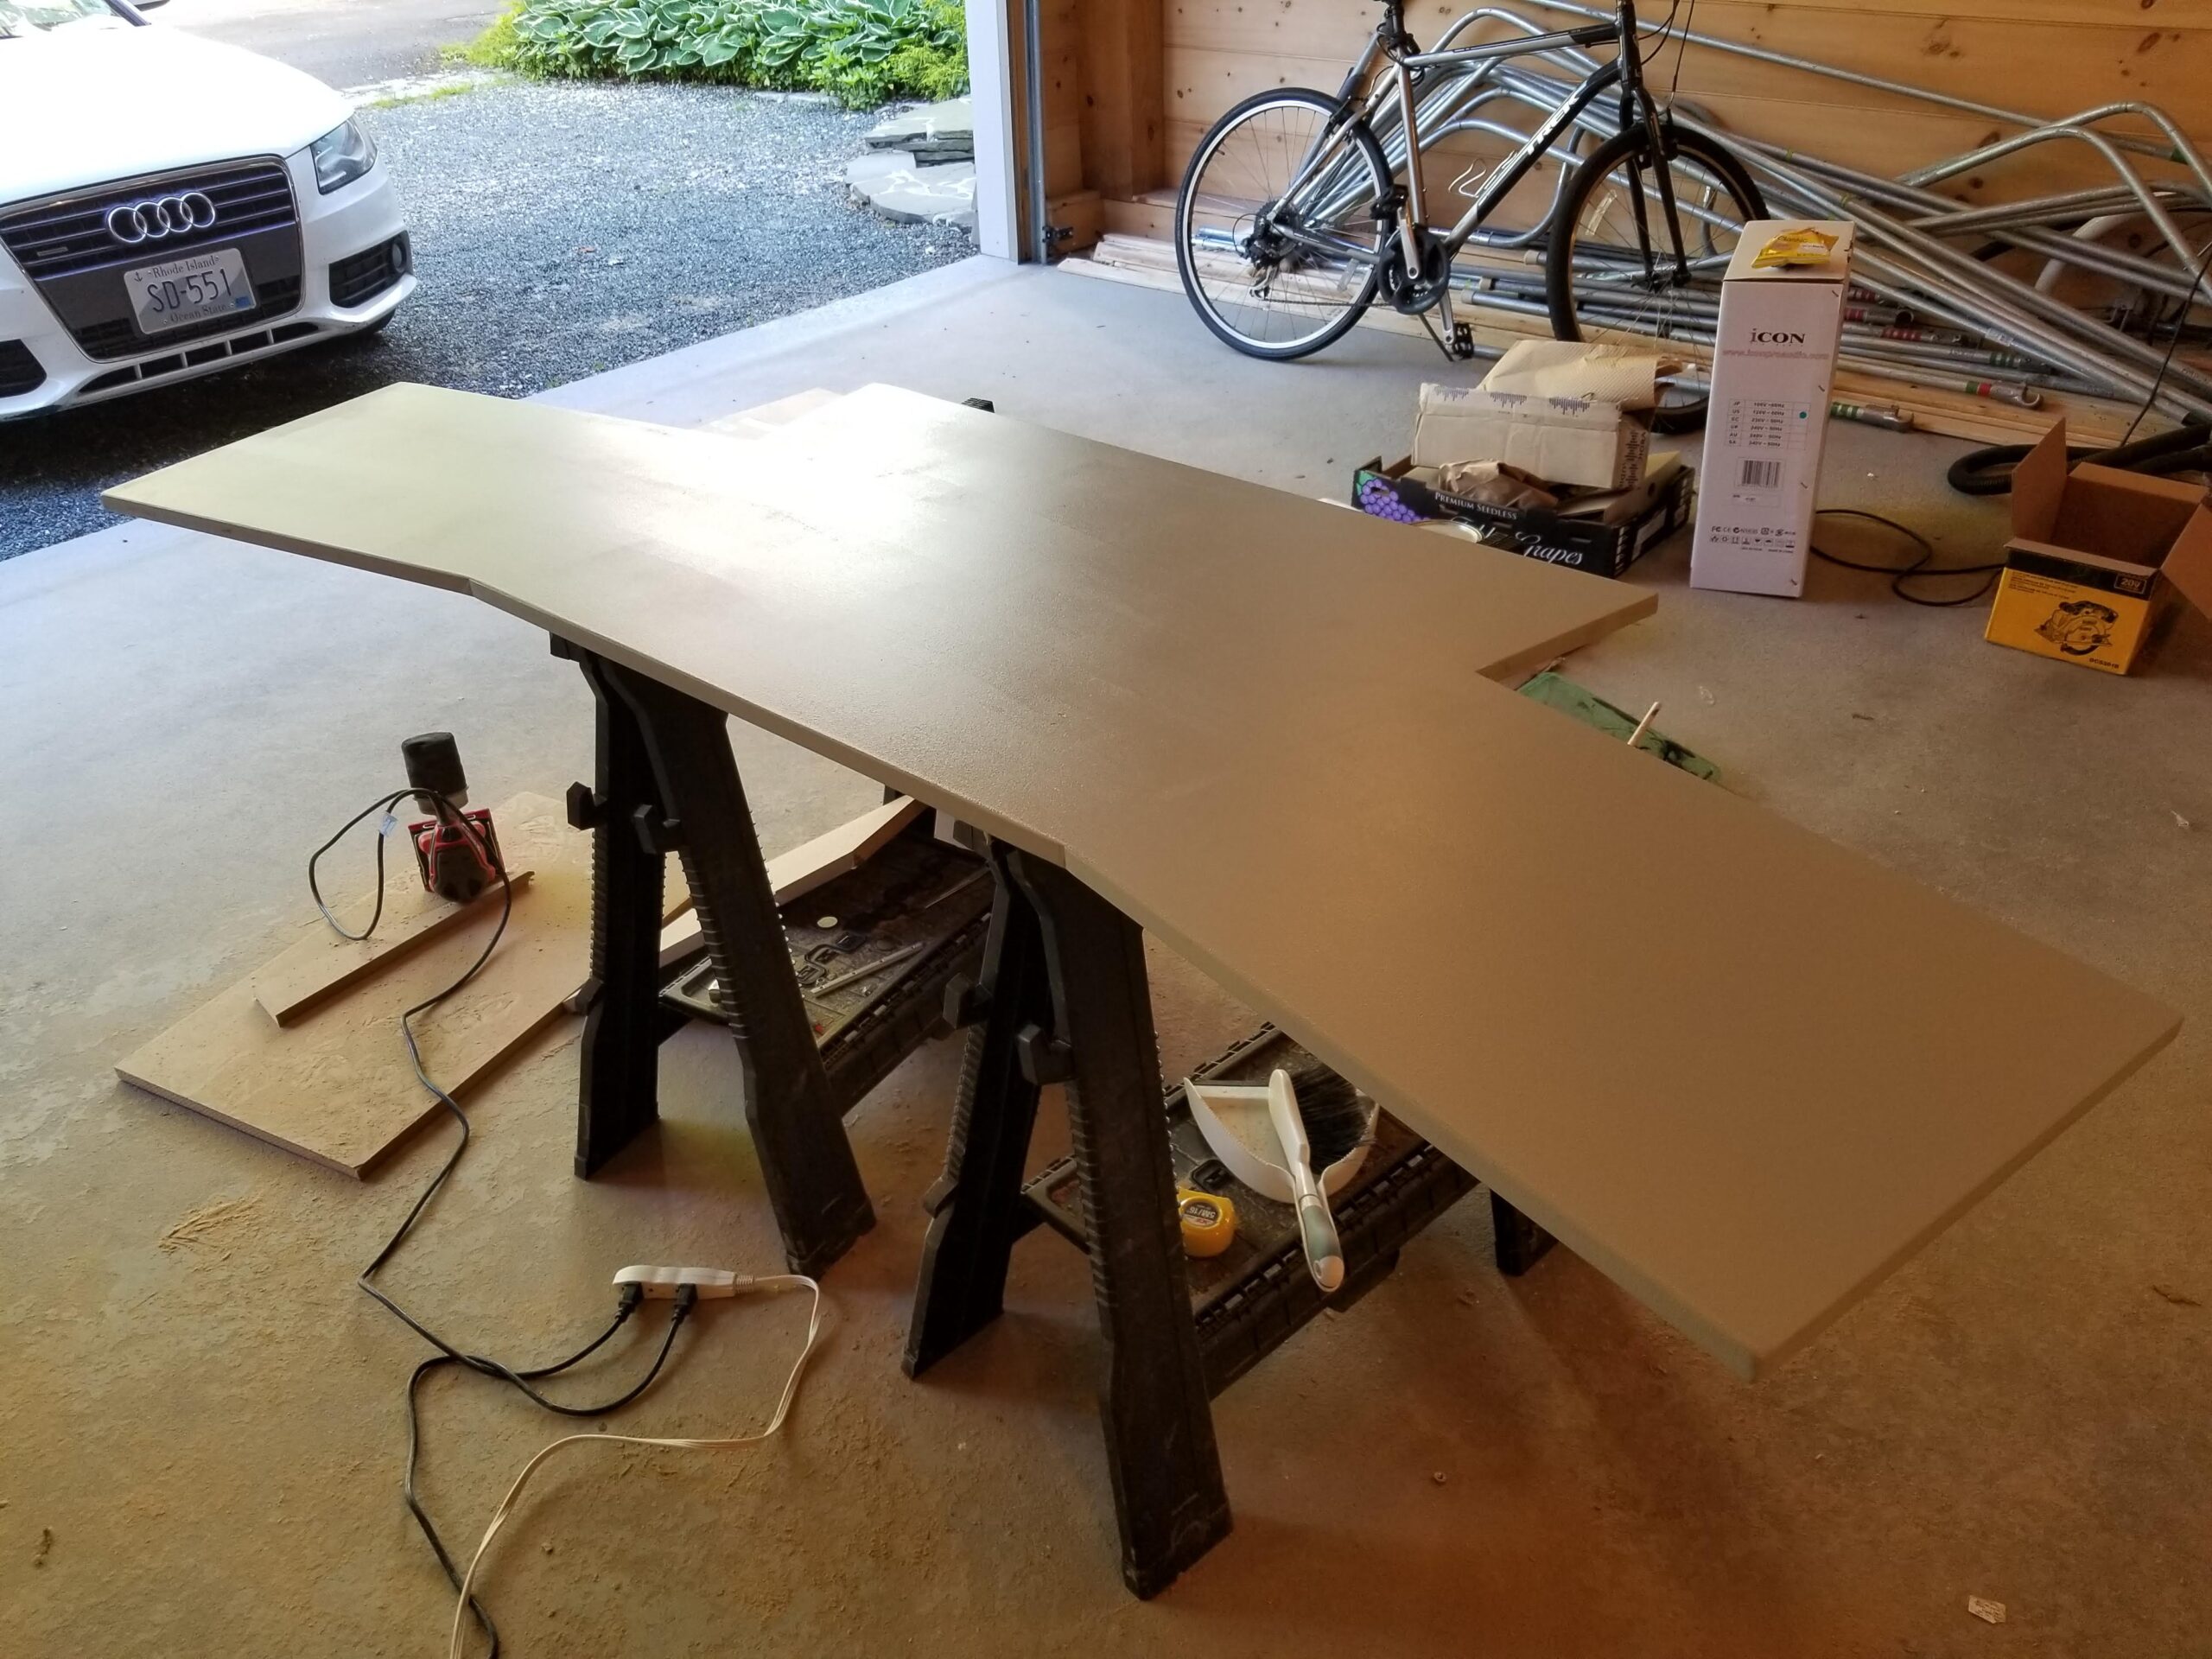
The desktop
My plan from the start was for the desktop to be plywood or maybe even laminated hardwood. To prototype and test the layout and shape, I decided to make one out of MDF as a temp stand-in. Well, once I primed and painted it, I couldn’t see any good reason to replace it. My MDF tabletop surface is working perfectly. It is supported well enough that there are no sags or wobbles at all.
Regrets…
…I’ve had a few. But then again… not too few to mention here. Number one is as mentioned above, I should have spent more time in design phase of the low level details that went into attaching all the pieces together. The photos above showing the construction of the side wings is where things got very slow and frustrating. A few more hours on the computer would have made that all very simple. The only other thing I might have done different is with the shape of the side wing sides. They slope back at the top and I thought that would be clever for the rack space that is down there. But what I wish I would have done is actually make them slope forward at the top instead and make the rack rails perfectly vertical. It’s a minor thing, but something I would do differently if I was starting over.