We have a

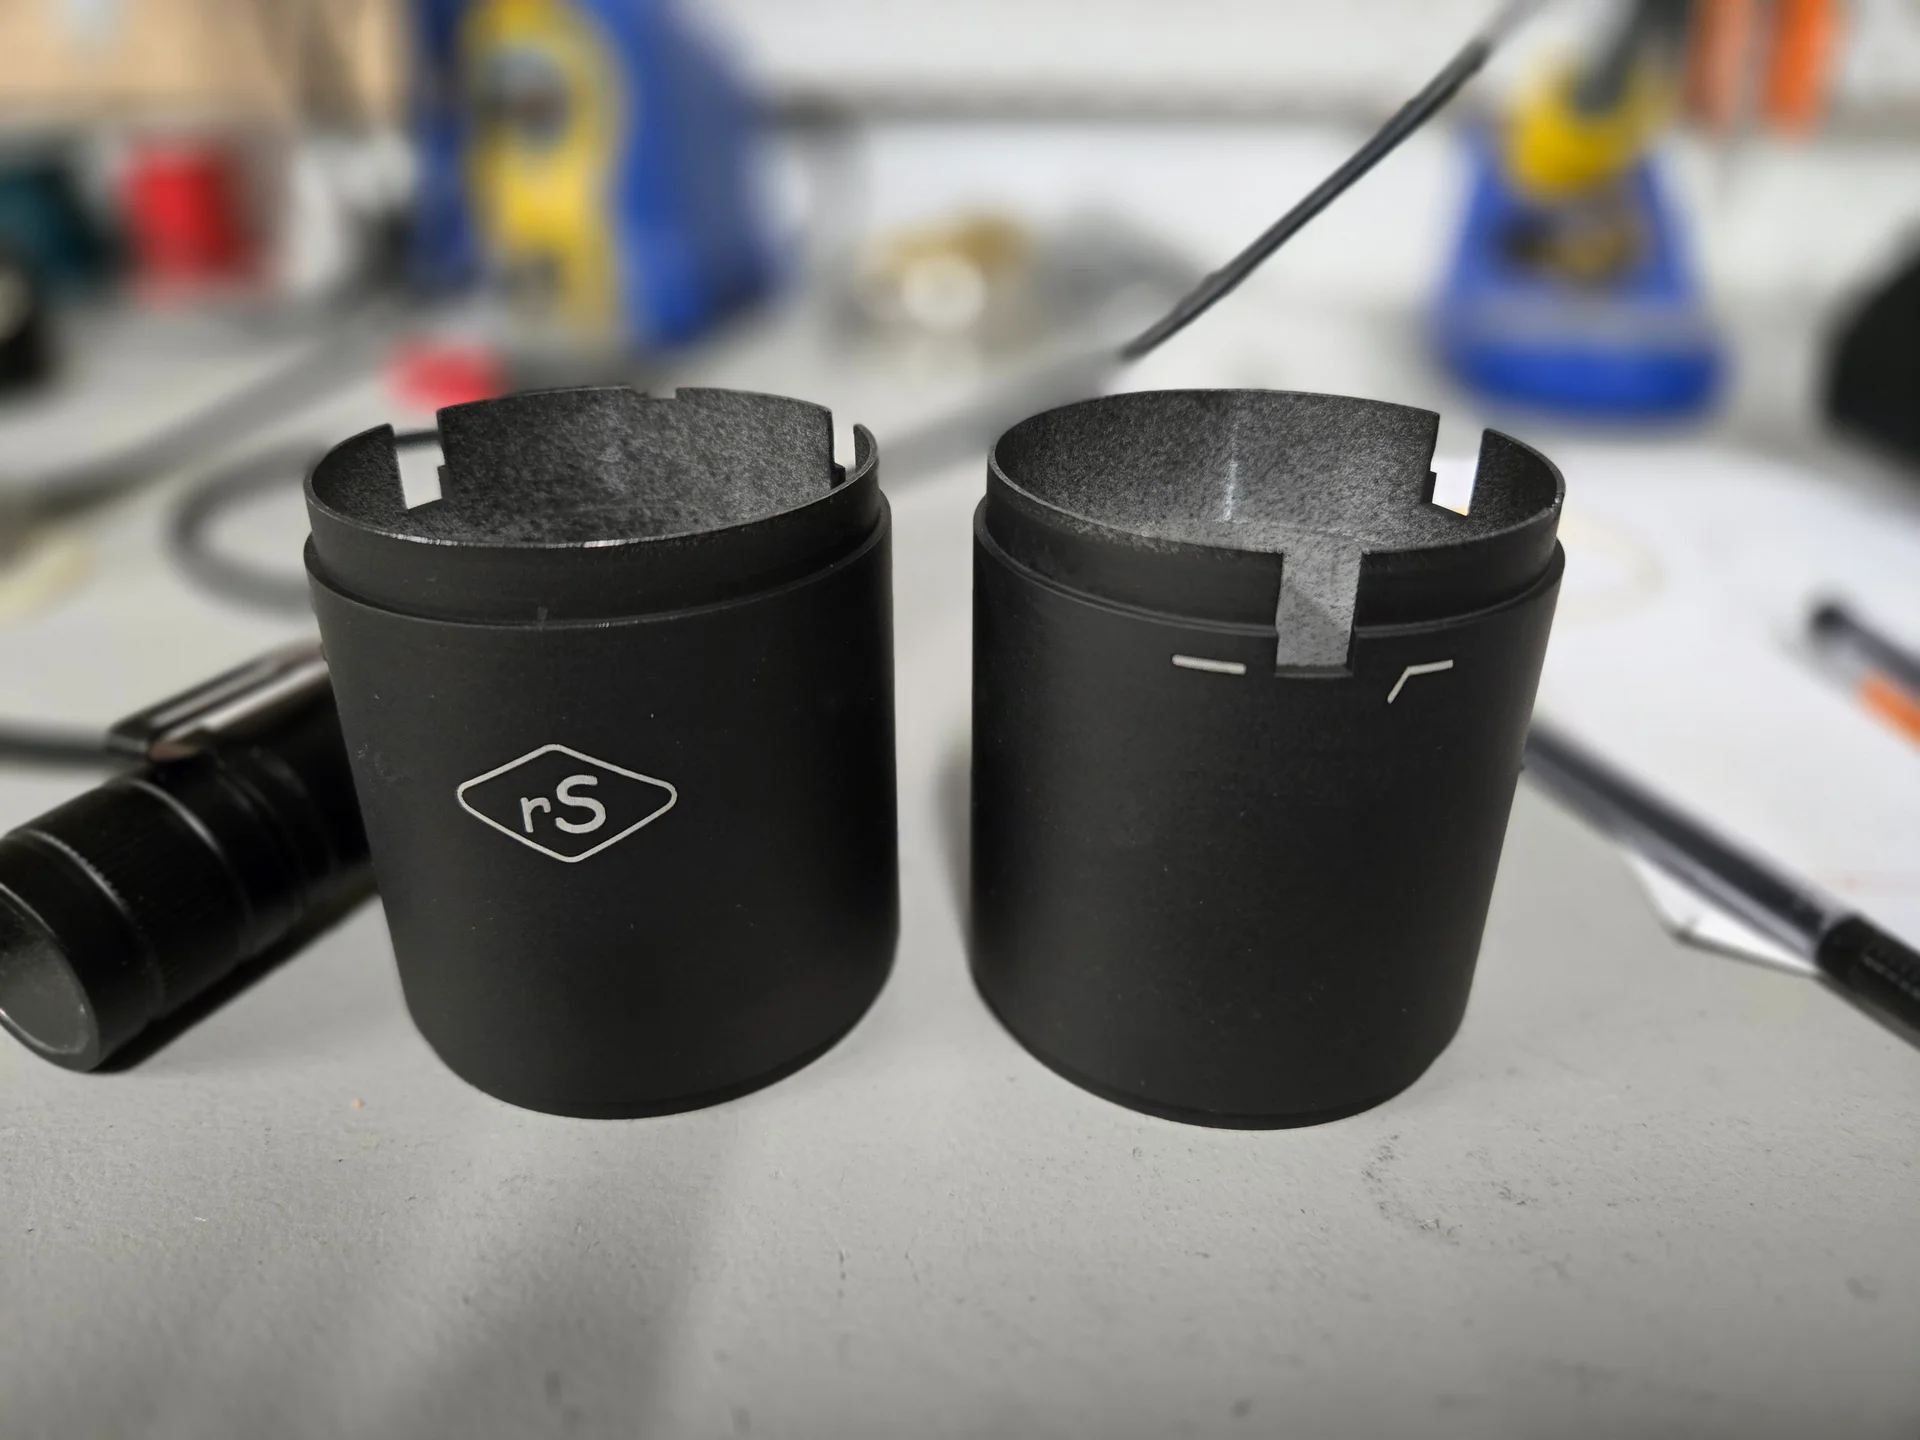
I used to dress up the mics with with Laser-Cut Nickel Badges. It looked cool. But if I’m honest: it was also the most stressful, anxiety-inducing part of the whole build.
Bending, aligning, and epoxying badges was a delicate game of “don’t screw this up.” One slip and the whole mic body had to be stripped or scrapped. I had bending jigs (various PVC Pipe pieces) for each mic body. The trick was to slightly over bend the badge (but not too much). I was spending way too much time playing arts & crafts when what I really wanted to do was focus on the guts.
Because the guts—the capsules, transformers, and circuits—have always been the point. And that hasn’t changed one bit.
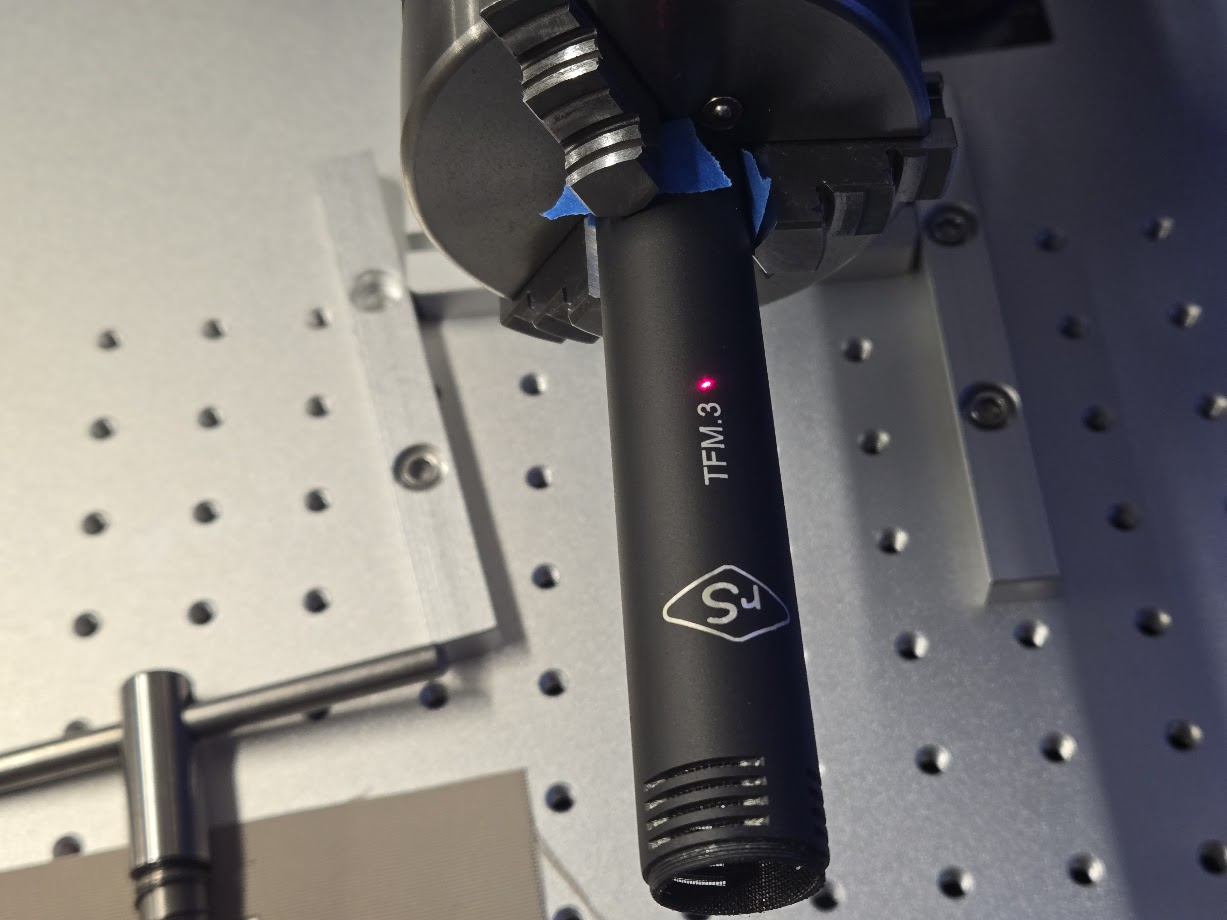
Enter the Laser
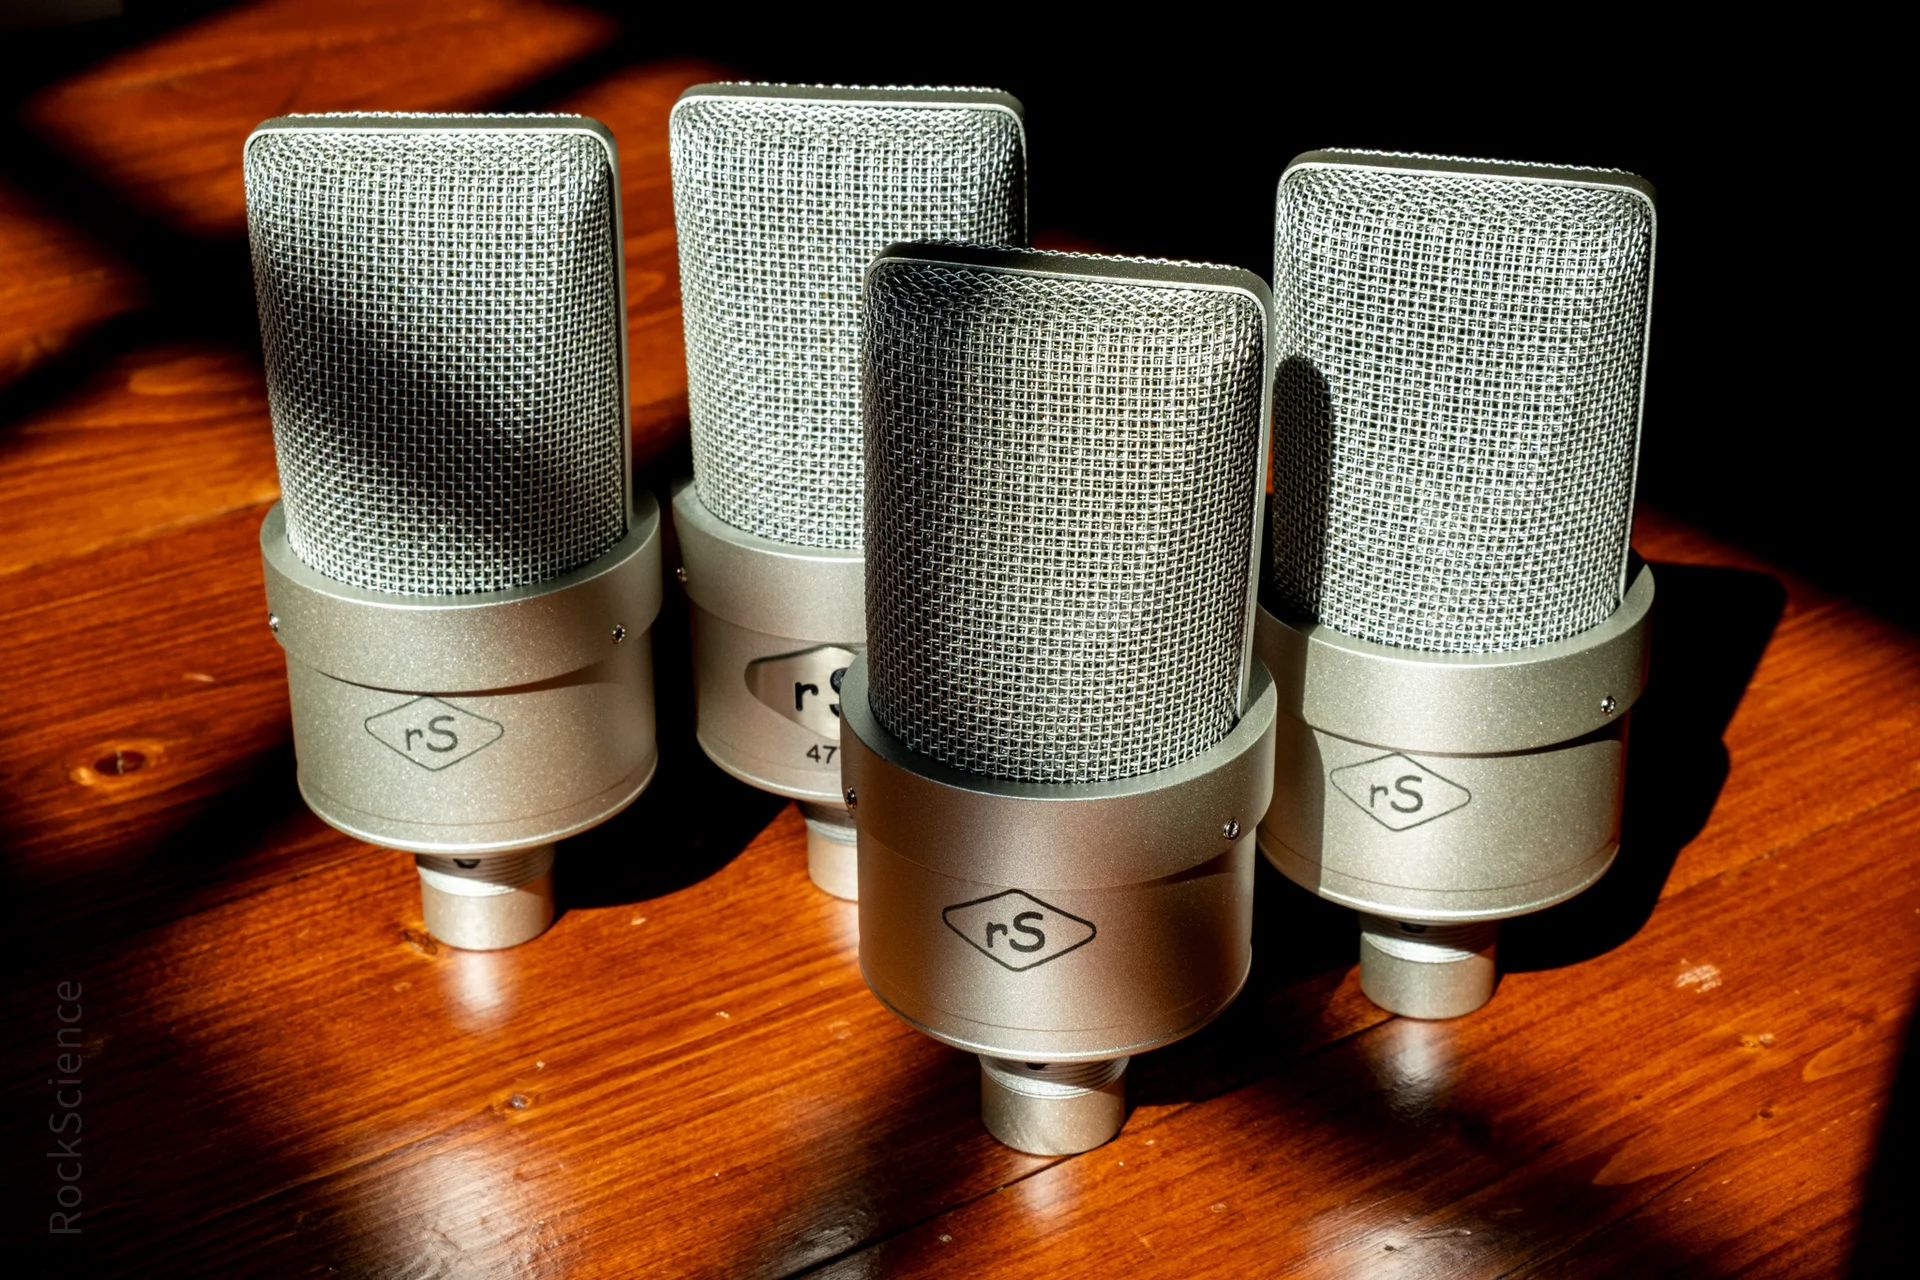
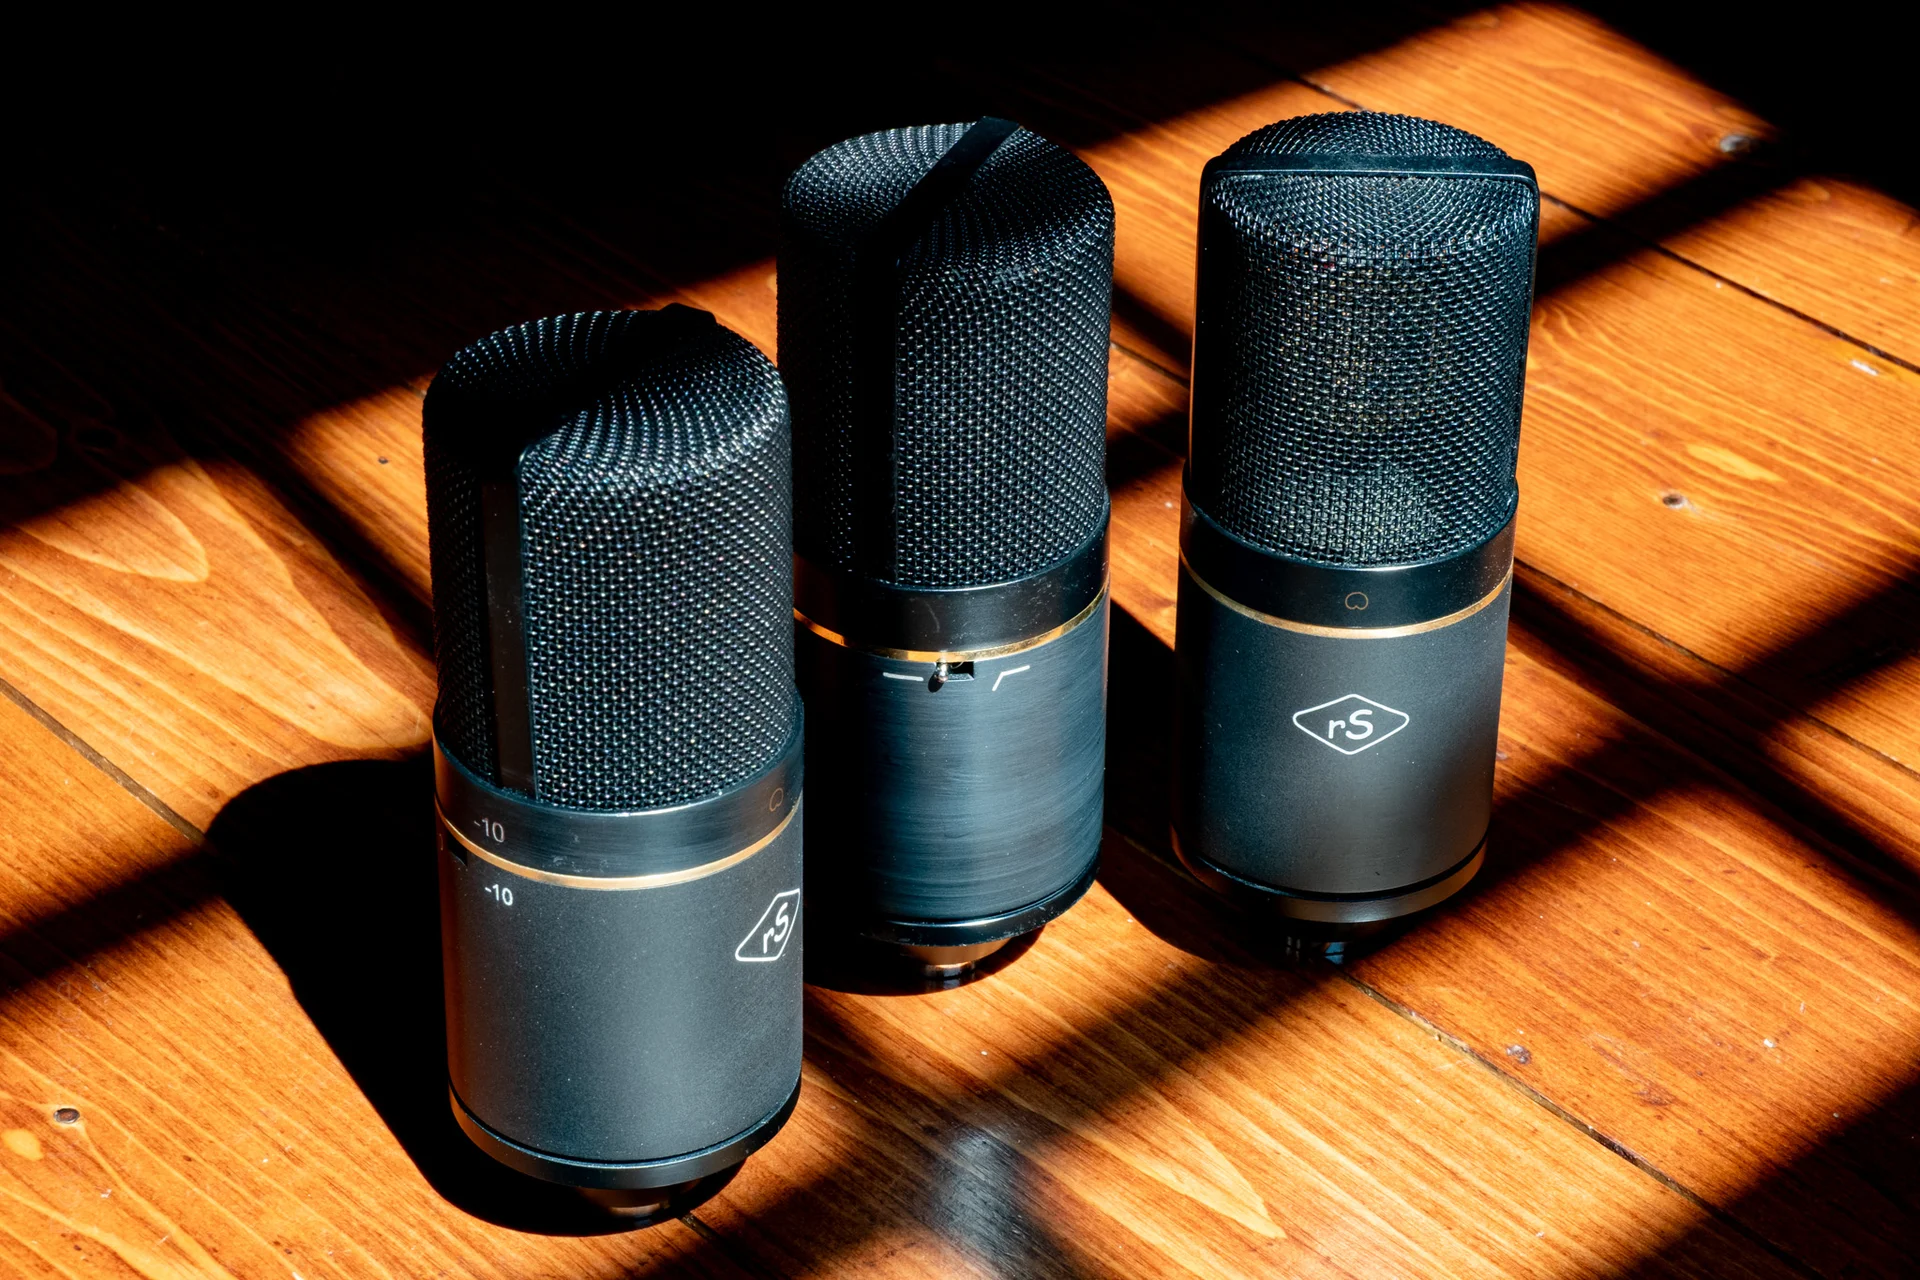
Starting September 2025, epoxied-on badges are retired. Every RockScience Mic now ships with:
- A laser-engraved RockScience logo
- A permanent build configuration code, so you’ll always know what’s inside

A short video of an MXL770 Getting the Logo and Switch Icons
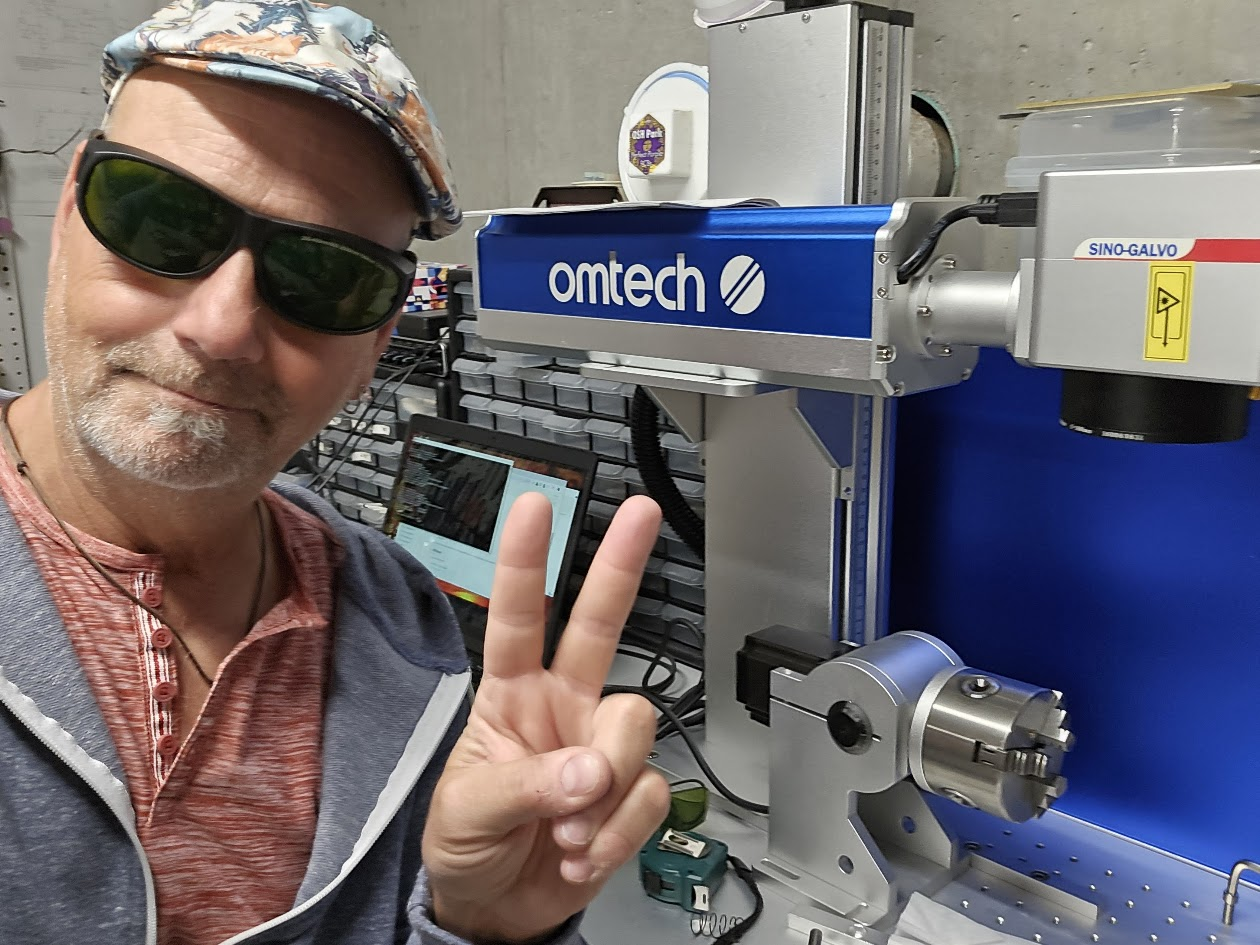
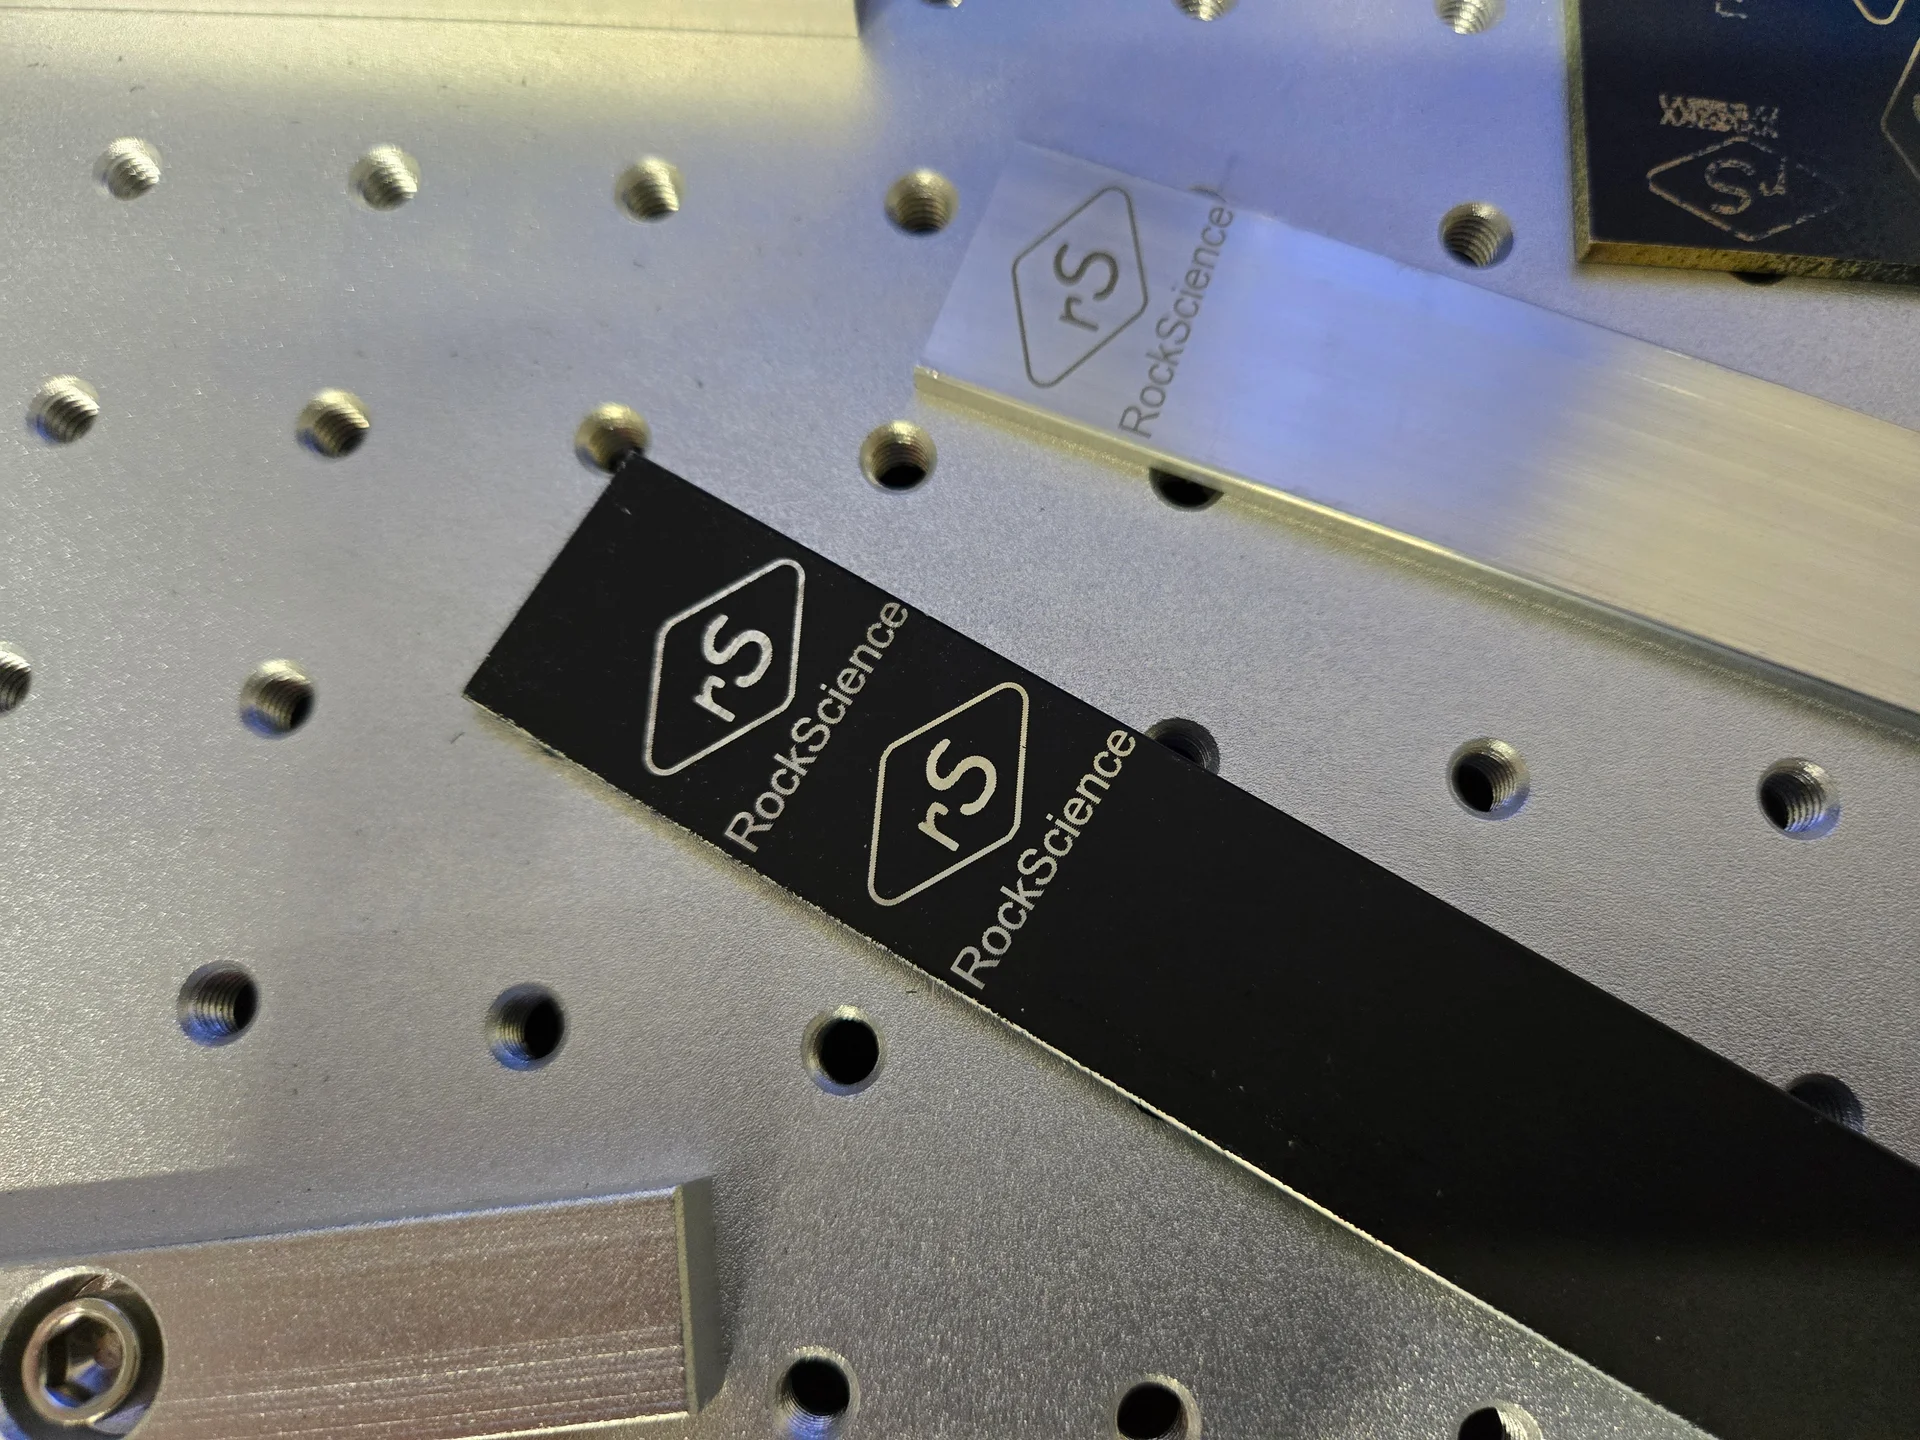
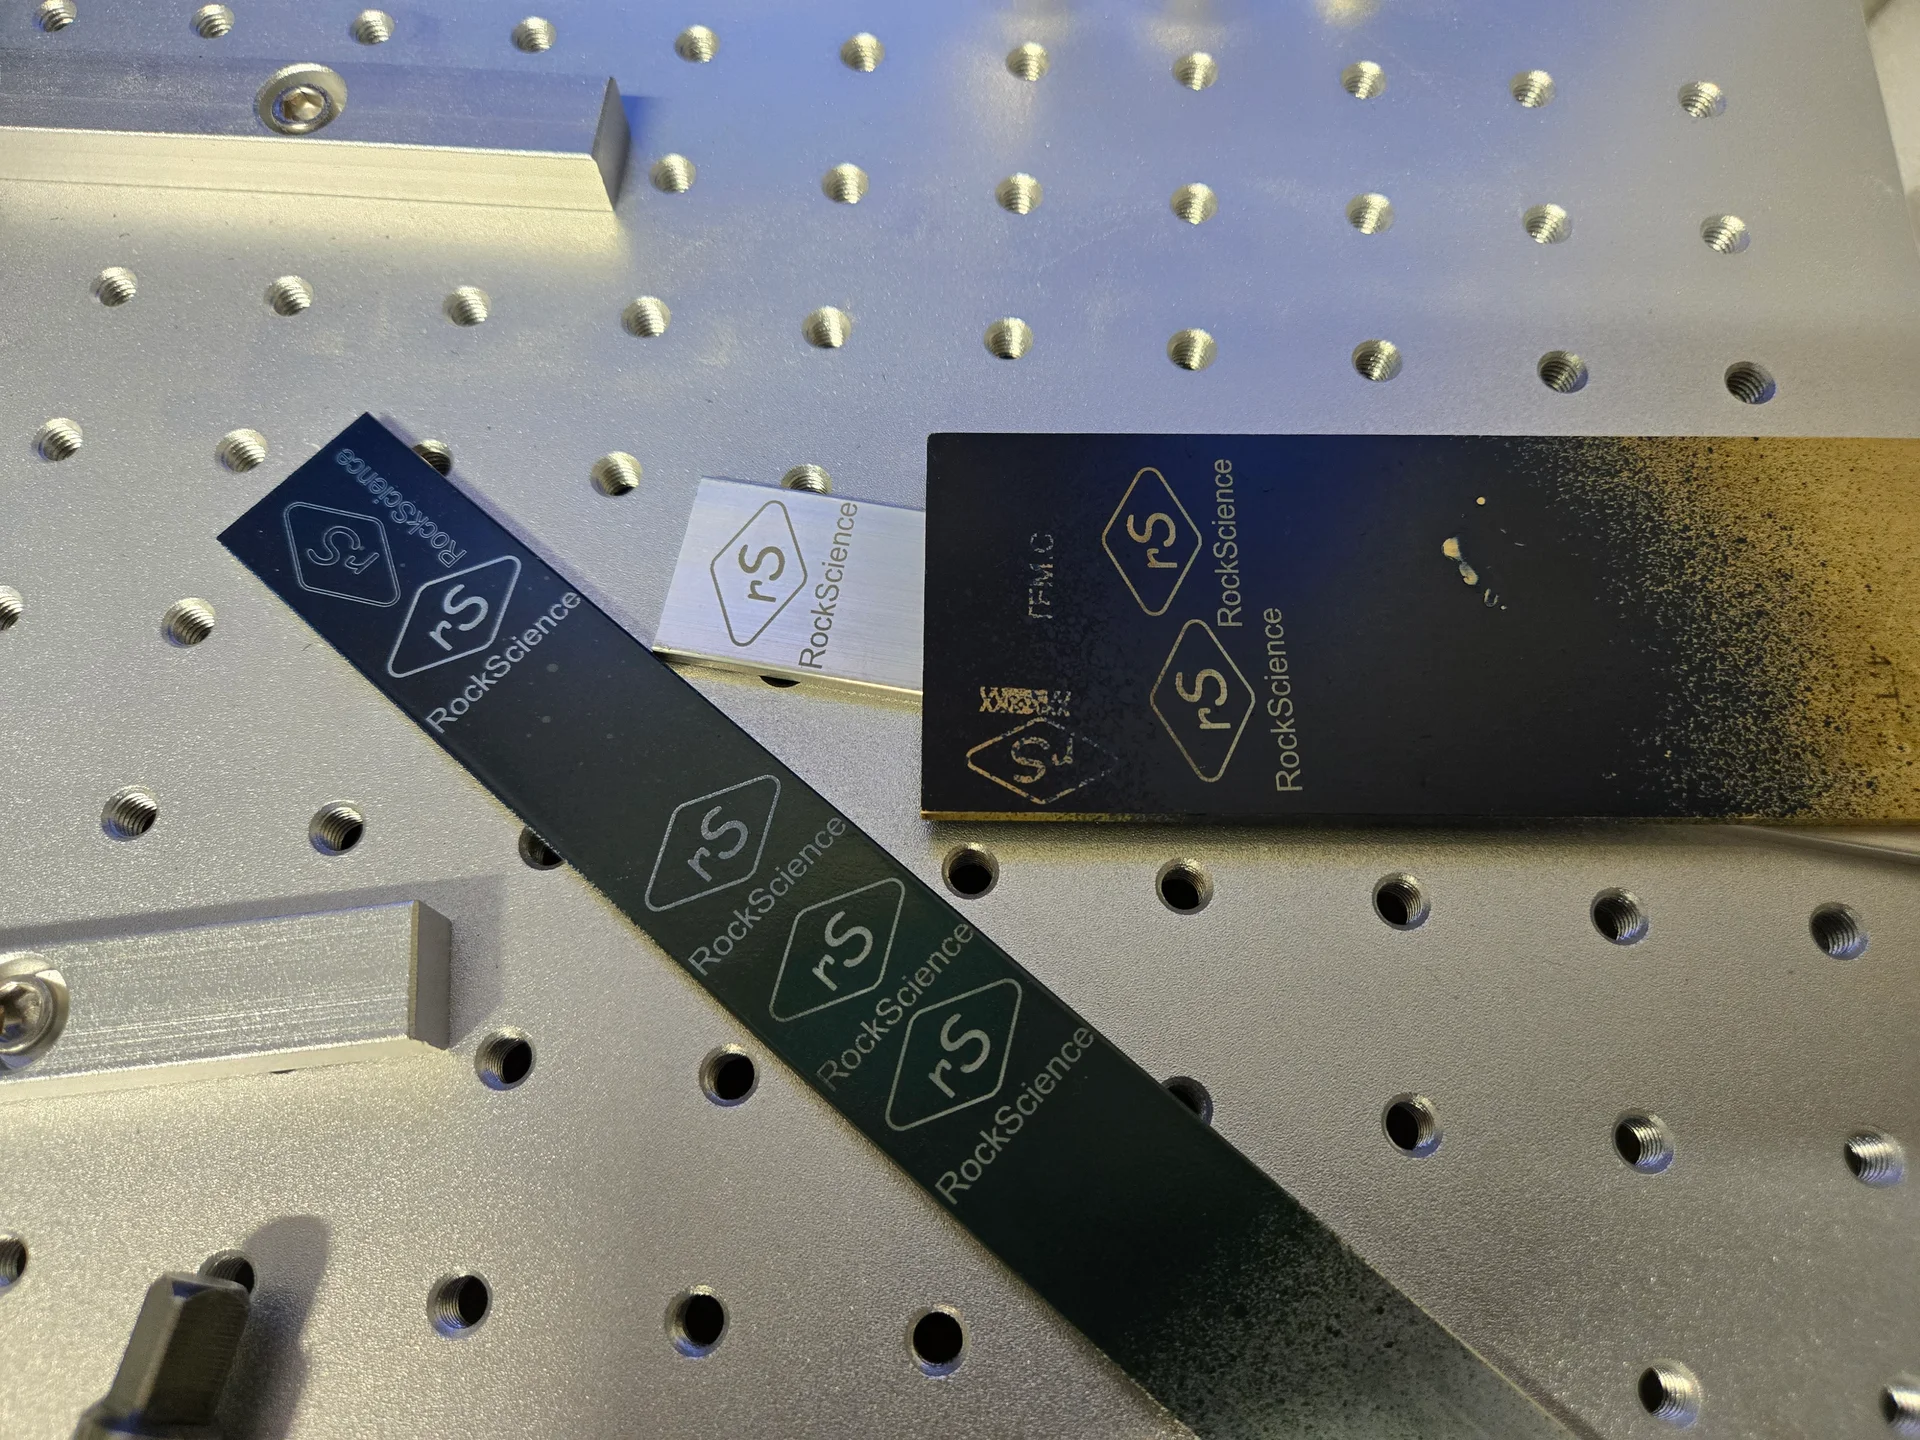
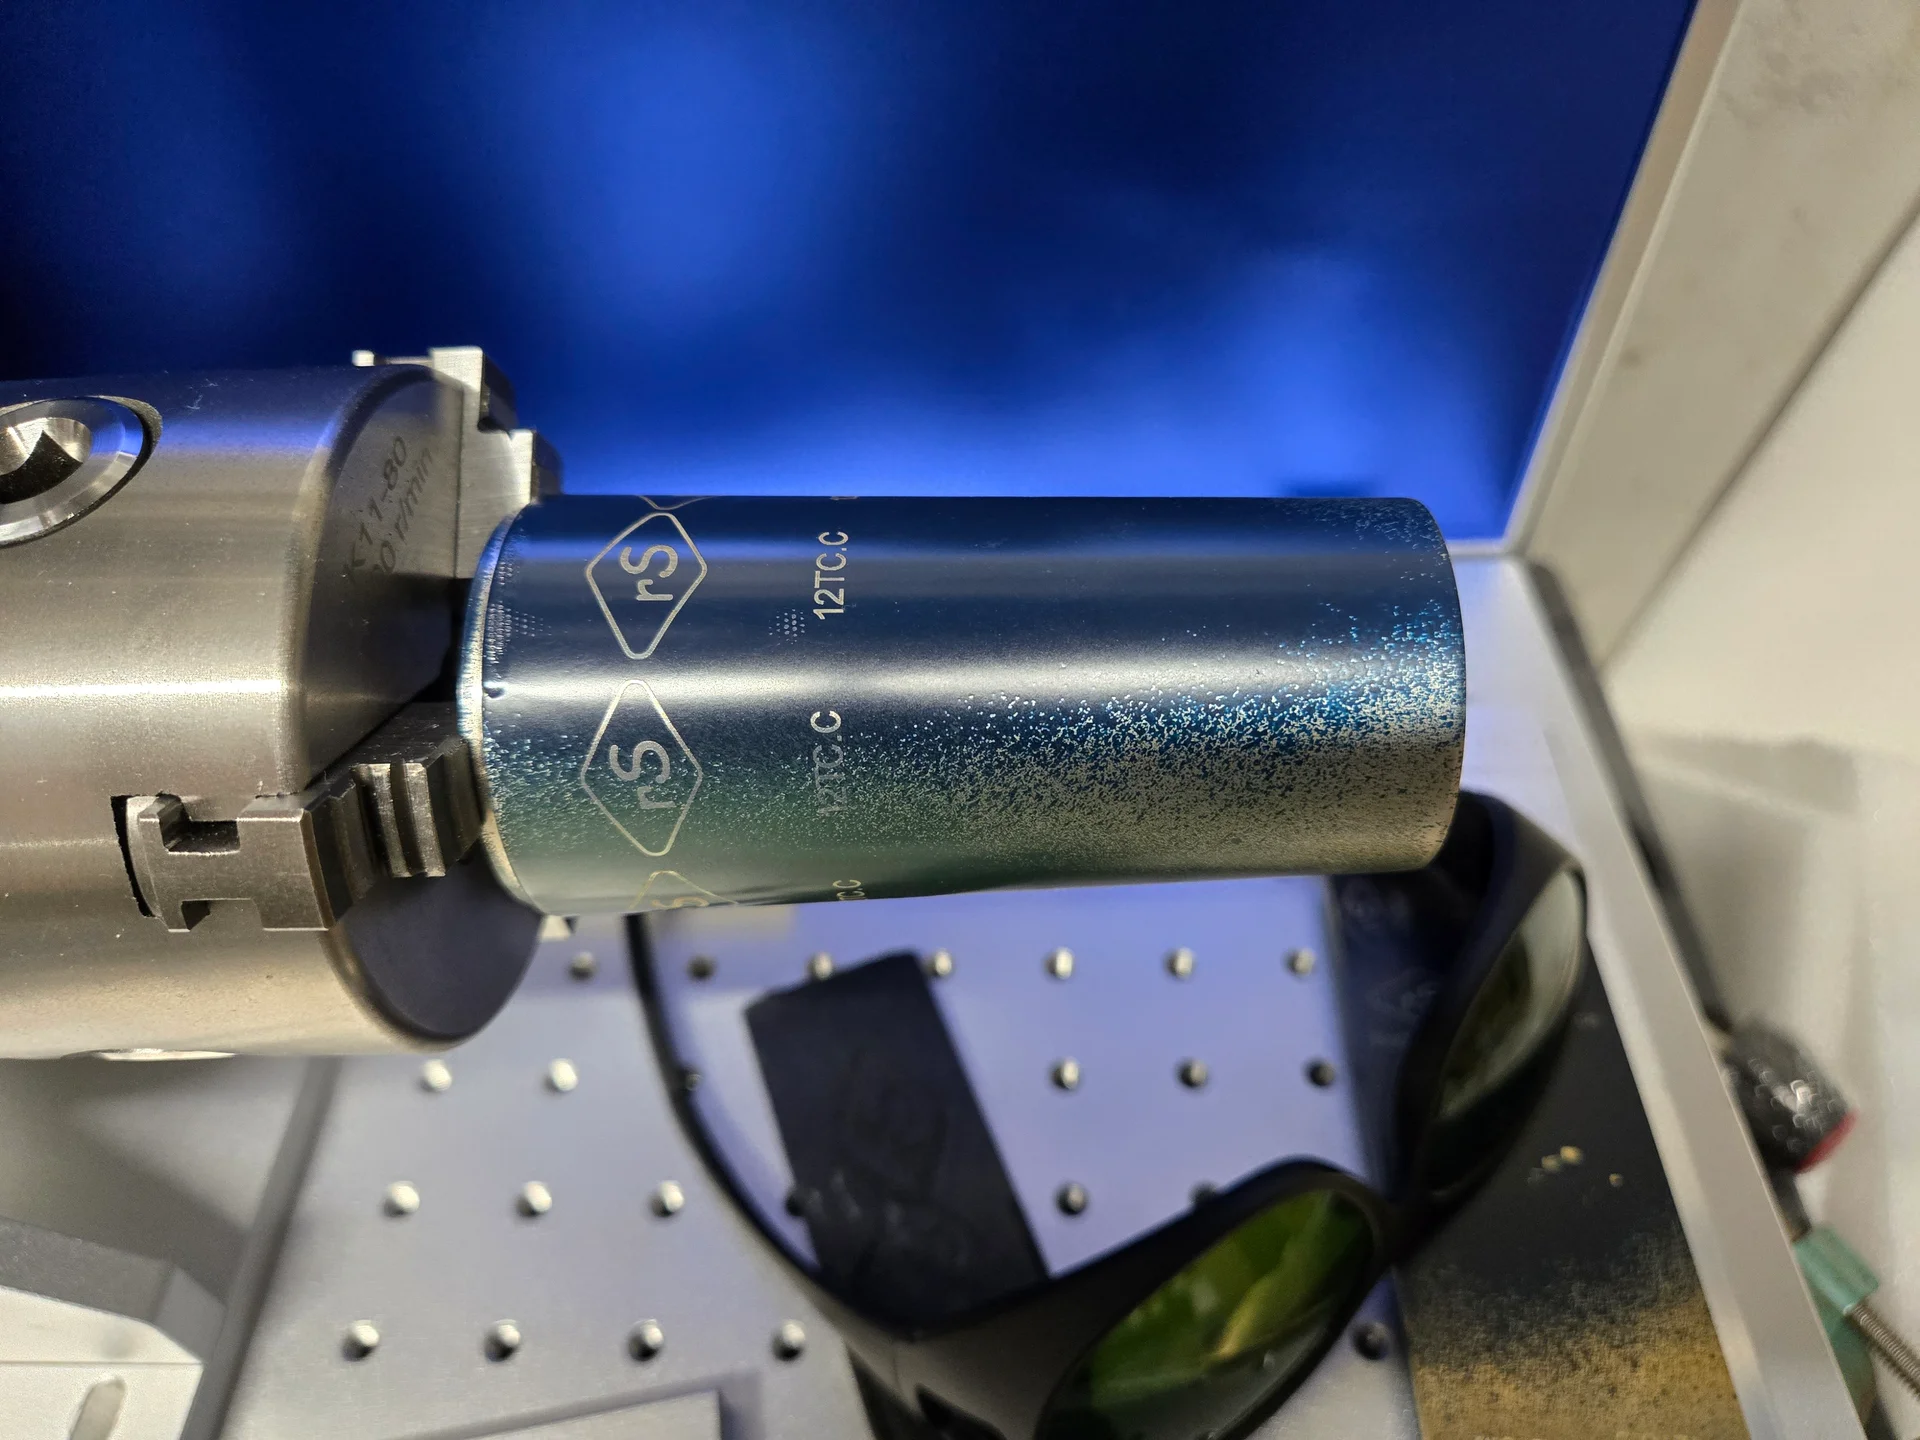
It took a few ruined mic bodies and hours of testing to dial in laser settings for all the variations of material, color and diameter for all of the mics I work on. But now the process is clean, precise, and consistent. And yes, I look very relaxed in my green safety glasses standing next to the Omtech galvo fiber laser. Those “mistakes” will most likely end up in my mic locker – the same way the mechanic always has the most beat up car.
I spent time dialing in laser settings for black, blue, green paint on aluminum and brass – as well as settings for bare metal for aluminum and brass and anodized aluminum. For most of this, I used scrap pieces of metal to work out the settings. The laser reacts to all of these very differently so it’s a matter of tweaking the power, speed, frequency and number of passes for each variation.


That’s good TV right there
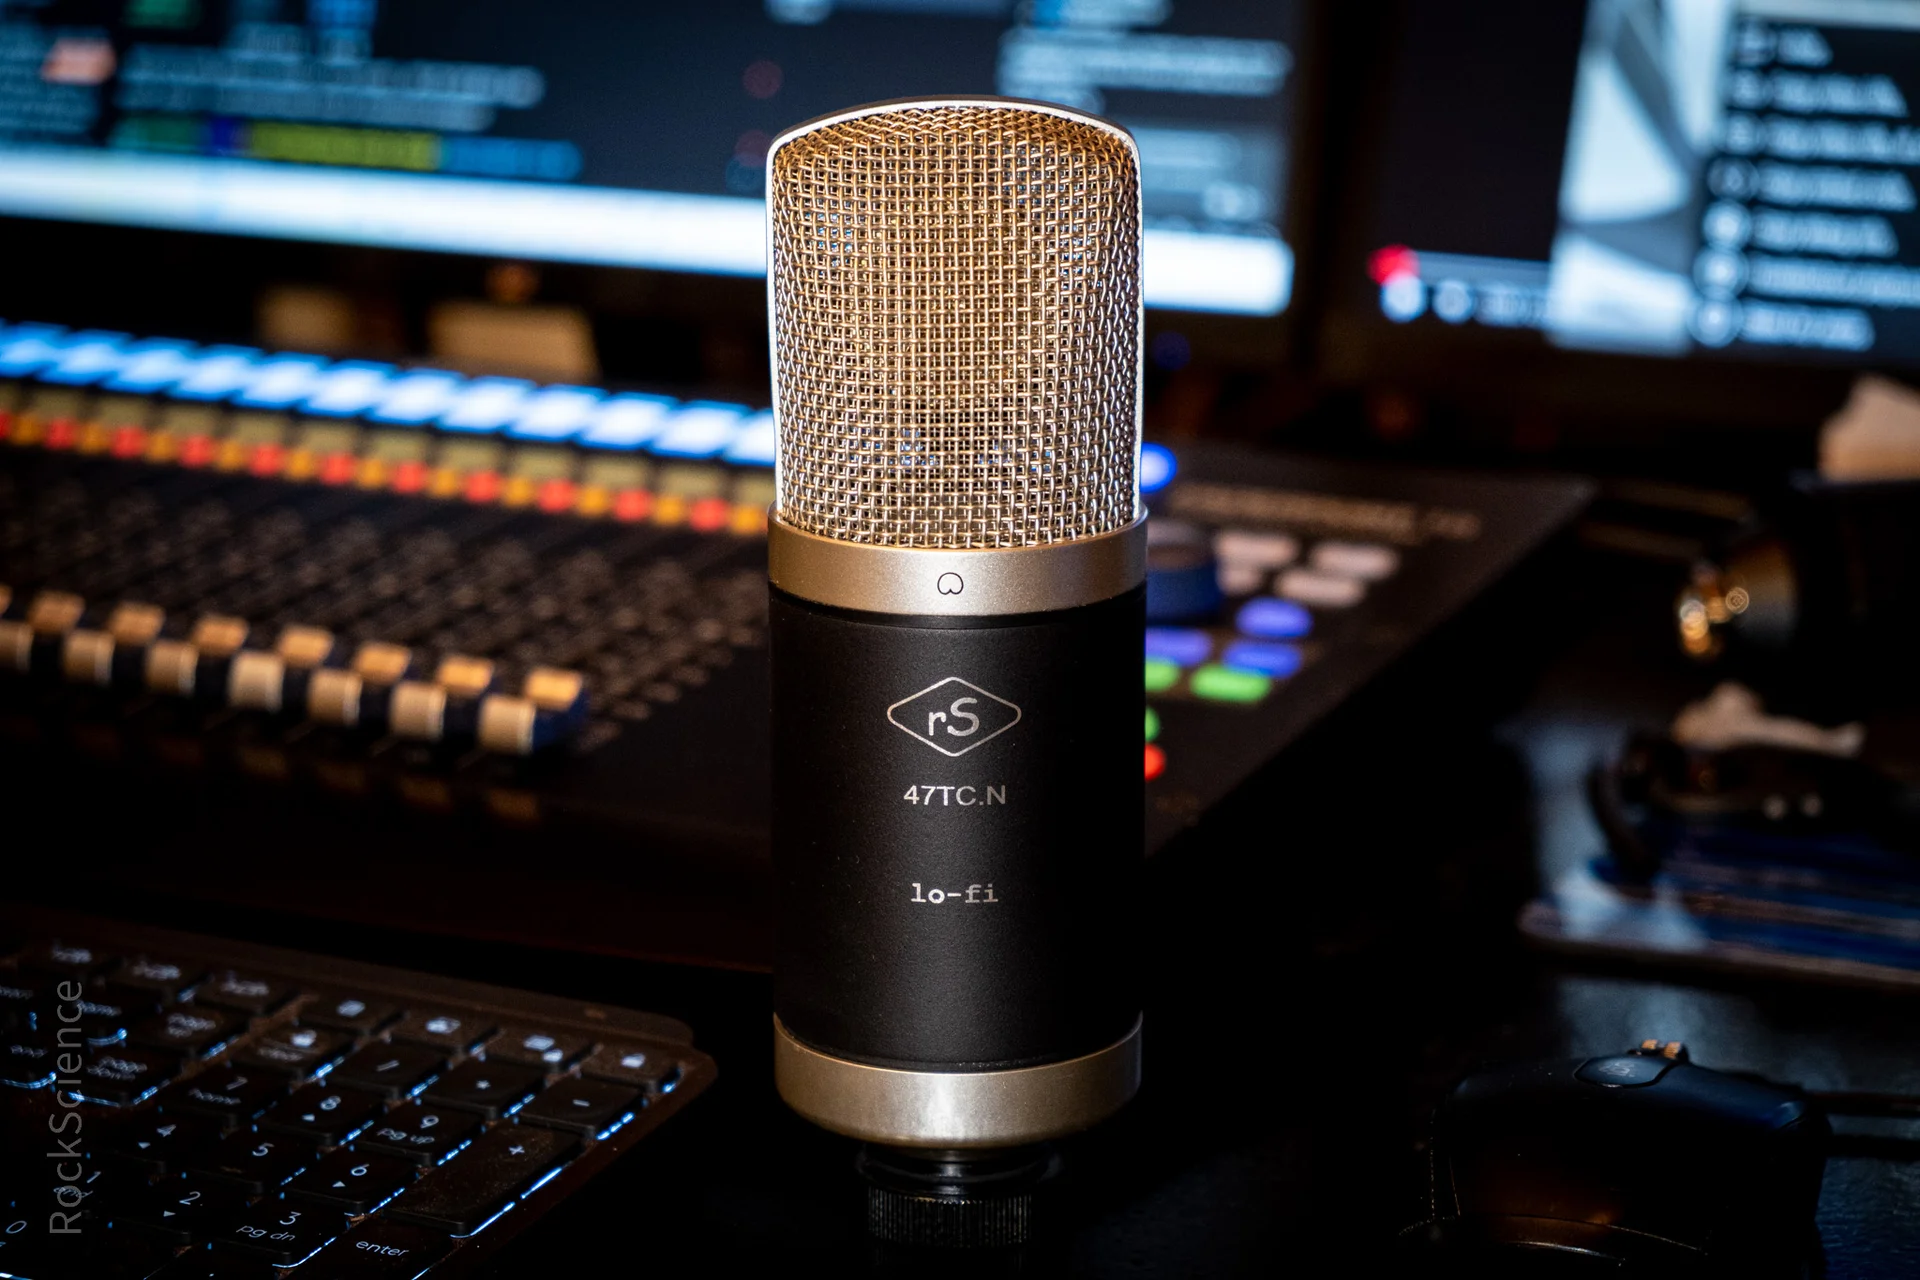
The Build Config Codes
This is actually the coolest part for me. I can’t tell you how many times I’ve had to open up a body during a session to remember which mic had which transformer or which was a TL, etc.
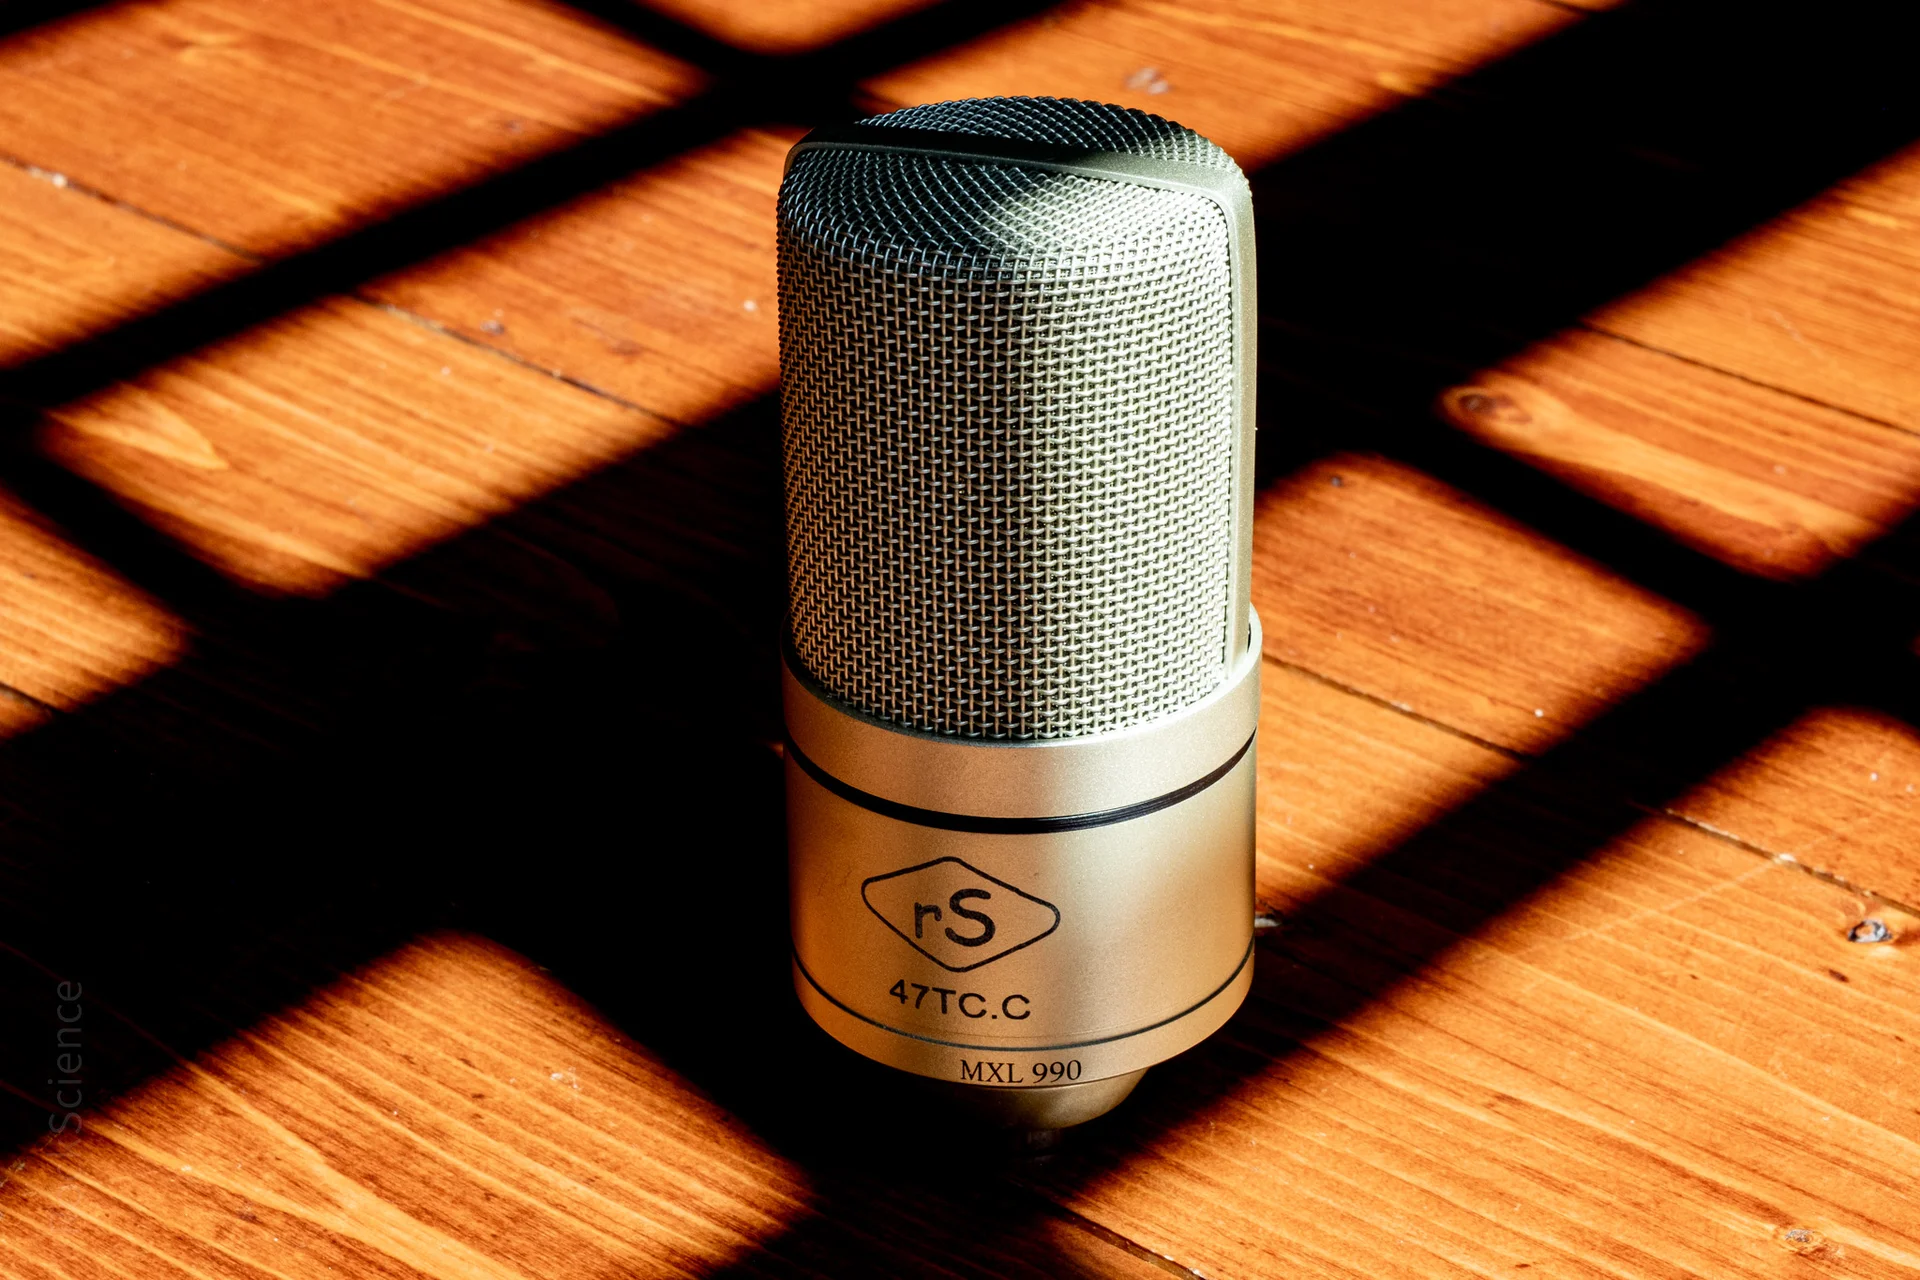
The format is
[CAPSULE][CIRCUIT].[VARIATION]
| Section | Code | Meaning |
|---|---|---|
| Capsule Type | 47 | K47-style capsule |
| 12 | CK12-style capsule | |
| Electronics | TL | Transformerless |
| TC | Transformer-coupled | |
| Transformer Variation | C | Cinemag |
| A | AMI | |
| 3 | 3U Audio | |
| N | Neutrik (lo-fi) |
Examples:
12TC.A → CK12 capsule, transformer-coupled with AMI
47TL → K47 capsule, transformerless
47TC.C → K47 capsule, transformer-coupled with Cinemag
About the Finish
I’ve got the laser looking great on Black, Blue, Green and bare metal. For the painted surfaces, the black shows the graphics with the most contrast – especially on aluminum mic bodies. For black anodized bodies like the 770, I’m suggesting sanding and applying a finish coat of the flat black (this covers up the usually dinged-up switch logos anyway). The laser cuts through the paint and the anodizing and it looks great. The blue seems to work about as well as the black. Green took a bit longer to dial in because it seemed to need a bit more power – but too much power and the metal underneath gets dull. It’s a balance.
No more Red. Red was always a problem color. It always took the longest to dry and cure and it seemed to be the softest and most easily dinged up color. I did one quick experiment with the laser and the results were not exciting. So it’s off the market for now.
As for bare metal, we need lots of power to really cut some material. To get the engraving to show up well, we have to actually burn the body a little bit. The trick is to do that just enough to show up but not so much that things get fuzzy. Again – lots of time have gone into figuring this out.


The Guts Haven’t Changed
This is important: the electronics, capsules, and mods are exactly the same. The only thing that’s different is how the mic looks on the outside.
So if you already own a RockScience mod with a badge or paint, don’t worry—you’ve got the same great guts. You just own a piece of RockScience history from the arts & crafts era.
The future, though? It’s laser-etched.
🔧 Nerd Alert: The Laser
For those who like to peek behind the curtain: I’m using an Omtech 20W Galvo Fiber Laser with a Rotary Chuck to do all engravings. Powered by LightBurn, it’s basically the “DAW for lasers.” Settings have to be tuned for each mic body’s finish — stainless, brass, painted aluminum. The diameter and taper of each mic body has to be carefully meassured — and I’ve wrecked more than a few bodies figuring it out.
Here’s a little LightBurn screenshot for the curious. This is the file for a painted 990

Laser For Hire
I’m not going into the engraving business, but I’m considering opening up this laser engraving as a service for other DIY-ers. Got a body you want marked with your logo or config? Let me know — if there’s enough interest, I’ll make it a thing.
Leave a Reply
You must be logged in to post a comment.