Editor’s Note: Since building this kit, the DIY shop has turned attention to microphone mods and rebuilds. As a bonus, my mics sound wonderful on amps like this! Click here to visit the mic mod service page.
I’ve had my eye on this Mojotone Amp Kit for a while. I normally do my guitar parts with various modeling gizmos and plugins and I don’t play live with anyone at the moment. So spending 900 bucks on a guitar amp seemed like a bit of a splurge (especially when I also want to buy a new camera). But, I finally bit the bullet and bought the kit. Due to Covid19, they expected to not actually ship it for up to six weeks. It really showed up after about three.

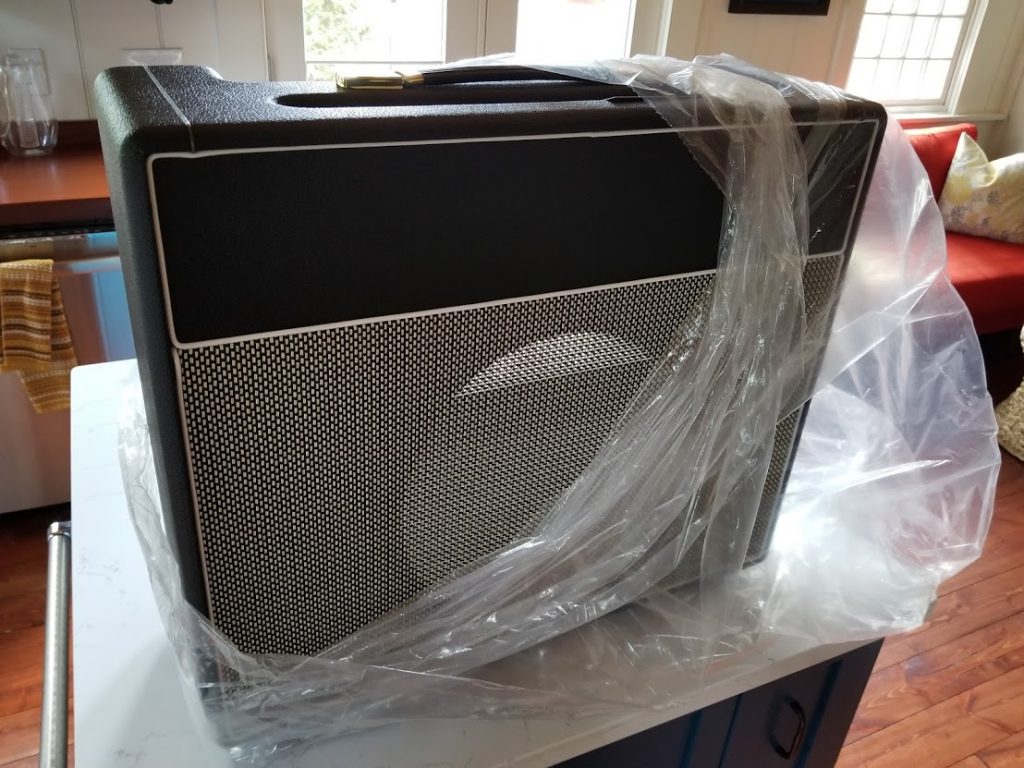
Unwrapping the cabinet on the kitchen island to have a look. So far, very happy with the build quality
Not wasting any time, I dove into the kit build. This one is a bit of a stretch for me. The kits I’ve been building (mics and preamps) are all built with modern components on real printed circuit boards. This amp, true to the era it is modeling, is all point-to-point wiring and the closest thing to a circuit board is a turret board. It’s also the first thing I’ve built or worked on in a long time that had tubes. This thing has five tubes and a tube recifier with all the high voltage transformers and capacitors that go along with it.
The schematic shows a pretty typical tube amp design. Nothing fancy – no FET switches, FX Loops or anything else that they put on modern amps. The kit is recreation of an 18w Marshall combo amp which was made between 1965-67. The original amp had two channels with only a single “Tone” control. Channel two had a tremelo circuit. Many people would mod these amps to remove the Tremelo circuit and use the holes for those controls to add a real TMB (Trebble, Mid, Bass) tone stack. Mojotone did exactly that in this kit except the tone stack and in fact the whole preamp of channel 2 is that of a JCM800. Pretty cool! Then, of course they added a “master” volume on channel 2.
One really cool/cute thing about the design is that the master vol knob is actually mounted where one of the input jacks would normally go in the original. This is exactly how it would have looked if you did this modification back in the day. They didn’t even put numbers on the face plate around the master.
The build is supposed to take about six hours. That may be true if you are really experienced at amp builds. It took me more like sixteen to get it up and running. There was one more session of rework a few weeks later that added a couple more hours (more on that later). And I do have one mod planned for it (parts are ordered) so it will be back on the bench once again.

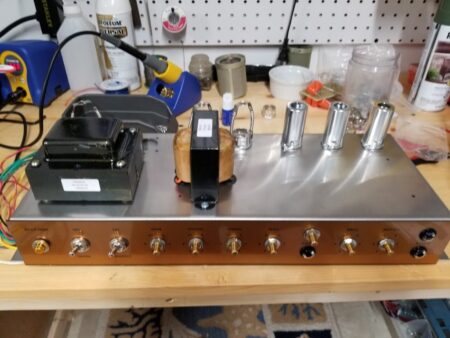
Transformers, controls and Tube Sockets mounted
Mistakes
Overall, the build pretty well. I did make a couple of mistakes though:
- I installed the wrong resistors on the high voltage filtering capacitors. Right resistance, but I grabbed the lower wattage ones from the kit box without paying attention to the power. When I discovered this, I tried to remove them and destroyed them in the process. So the original build had some whimpy looking modern metal oxide resistors in the circuit instead of the more vintage looking carbon ones. I ordered more from Mojotone and have since installed them.
- I got too much solder on a pin in two of the tube sockets. The solder ran down inside the sockets and the tubes would not seat very well. I did my best with the solder sucker and a few other tricks, but I made quite a mess of those two sockets. They worked, but I ordered new sockets and have since replaced them.
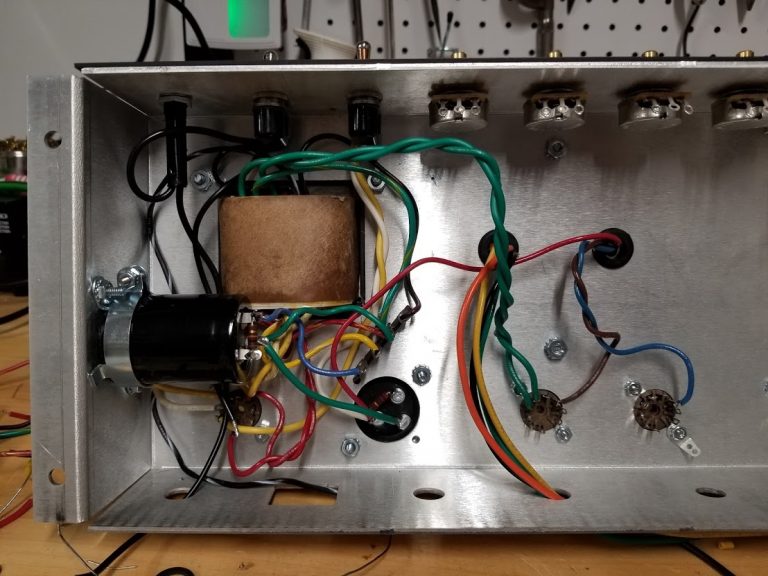
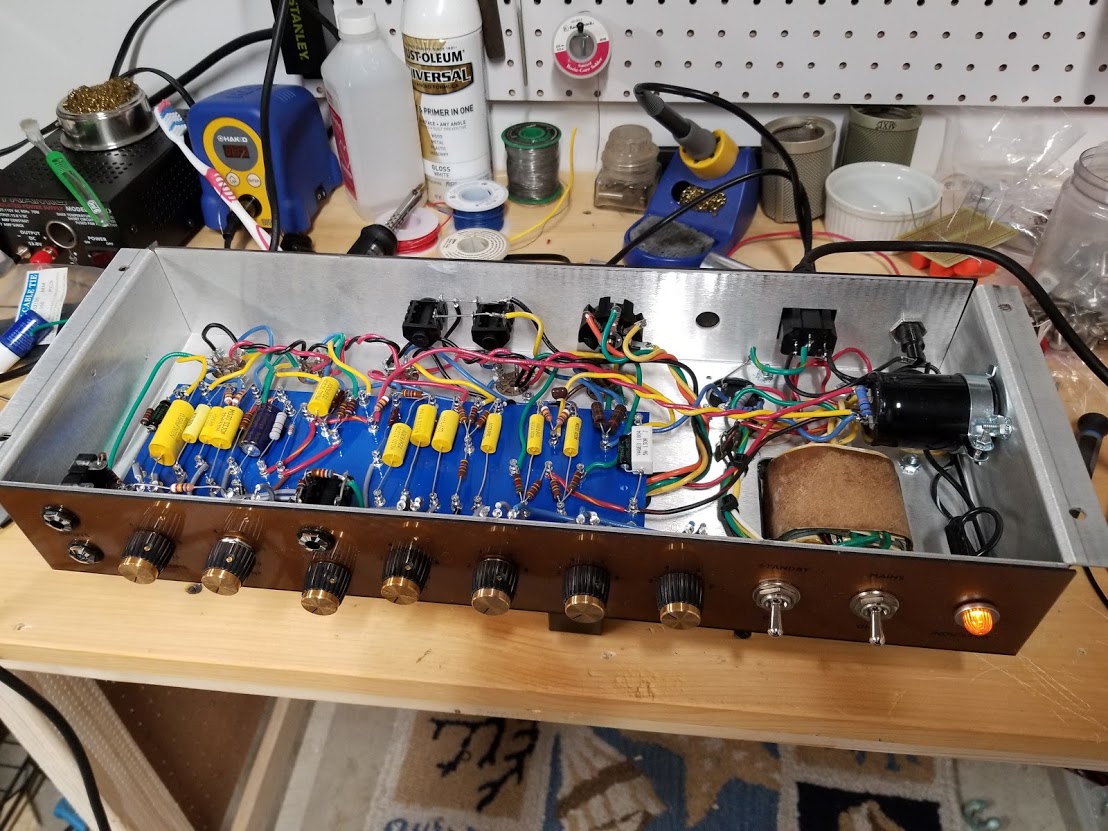
Wiring the power section. The astute reader may notice that I have the wrong resistors on those big filter caps! They should have been bigger 2W resistors but I grabbed the 1/2 watt carbon ones of the same value from the kit by mistake. These were intended for the turret board.
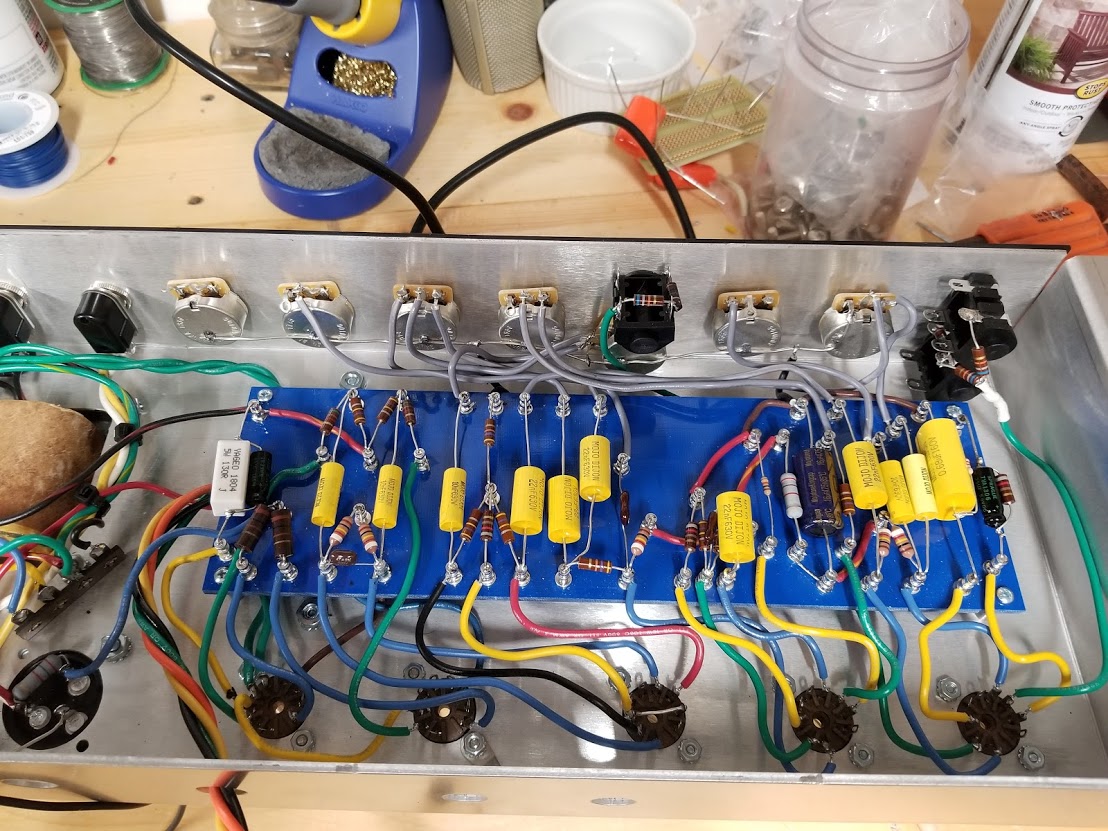
Turet board and most of the internal wiring is complete. Notice the non-carbon skinny (metal oxide) resistor about 1/3 from the right of the board.
Moment of Truth – Plug it in and fire it up
After checking and rechecking everything, I plugged it in, held my breath and switched it on. There are several steps to the initial bench testing which involve turning it on and off several times adding tubes and doing voltage measurements in between. Everything was looking good and the poorly seated tubes didn’t seem to be a problem.
The Speaker
The speaker in a guitar amp is a huge part of the tone. Go on youtube and search for “guitar speaker shootout” and there are dozens of videos which compare speakers and really demonstrate how different they sound. Some of these shootouts are done more scientifically than others. I ordered the kit with no Tubes and no Speaker. I have two Electovoice EVM12Ls and so I thought I would put one of those in at first. Many people would consider this an abominaiton of nature but it actually didn’t sound bad. Actually it sounded great. Ulitmately, a friend of mine had a Celestion Vintage 30 which he had no use for and we made it mine. That’s the speaker I have now and the tone is a huge improvement. It also weighs about 15lbs less now!
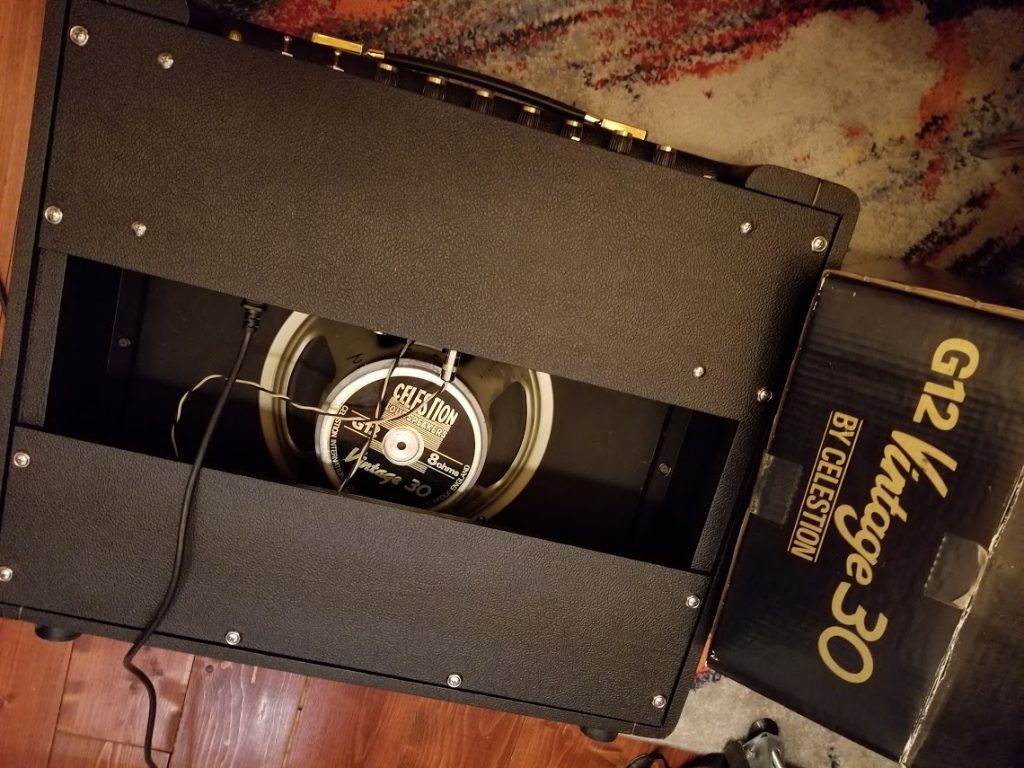
The speaker is a big part of the tone. Going with a classic Celestion Vintage 30 here.
Rework
A few weeks later, I finally sat down at the bench and replaced the two tube sockets that I messed up in the original build and replaced the metal oxide resisters with new carbon ones. It took a couple of hours but it all went back together perfectly.
Up Next
I have two small complaints:
- There is a little bit more 120hz (rectified) hum in the power section than I would like. You hear it even with all gains down to zero.
- The master volume is very touchy at the low end of the range. It’s difficult to get a reasonably quiet studio (or late night bedroom) volume. It goes from nothing to a little too loud and it’s hard to get in between. Turns out this is a very common complaint across many amps with a master vol.
For complaint #1, I have ordered some additional 47uF high voltage caps to put on the high voltage circuit. This kit has dual 32uF caps which is not a lot of filtering. My 50w Sovtek has dual 220uF caps as a comparison. I will add the new caps in and see if that reduces the hum a bit. It’s not a problem at all for recording or playing. It’s just more of an annoyance.
There are several ways to address complaint #2. What I am going to do is replace the master vol pot with one that has a push/pull switch. That swich will switch in a series resistor which will give me a “low range” setting so that I’ll be able to use more of the rotation of the pot. If I ever play a gig again, pull the switch up and get the full volume range.
But I Love The Amp
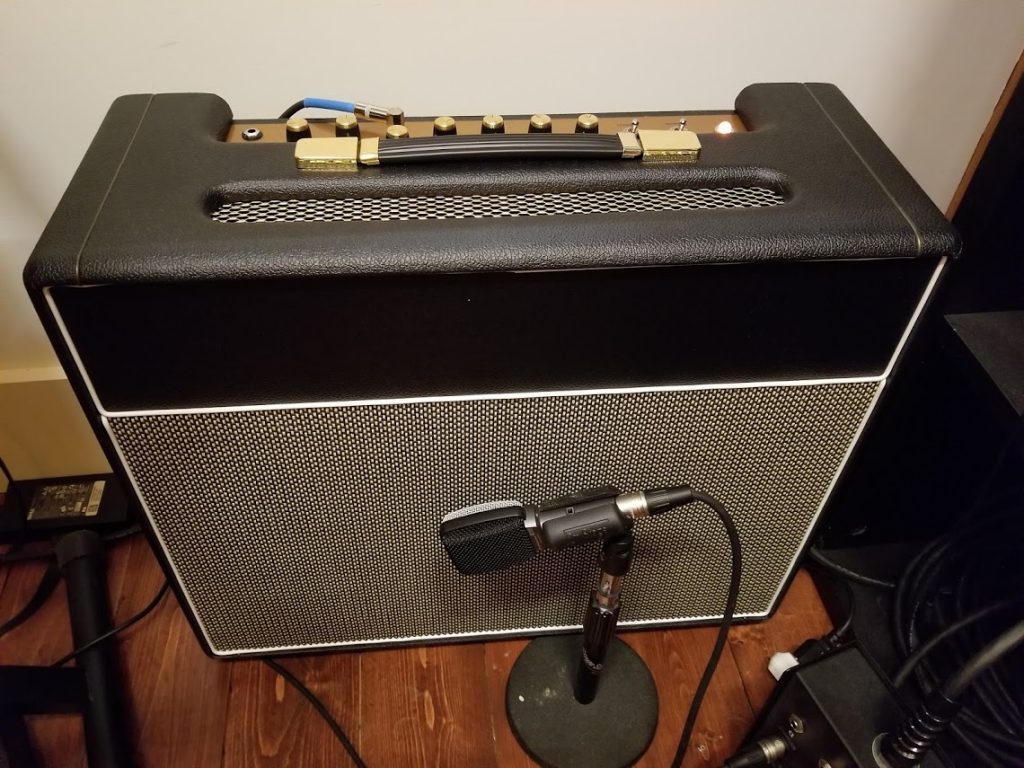
I’ve spent many hours just playing guitar since I got this. It’s such a great responsive amp with a gorgeous tone. It can overdrive as much as any JCM800, but it sounds wonderful at my more usual mid-level distorted tones that I like. Although it’s a combo, it’s actually a pretty big box and has a surprisingly big tone. I really feel like I’m playing through a 4×12 with it.

Leave a Reply
You must be logged in to post a comment.